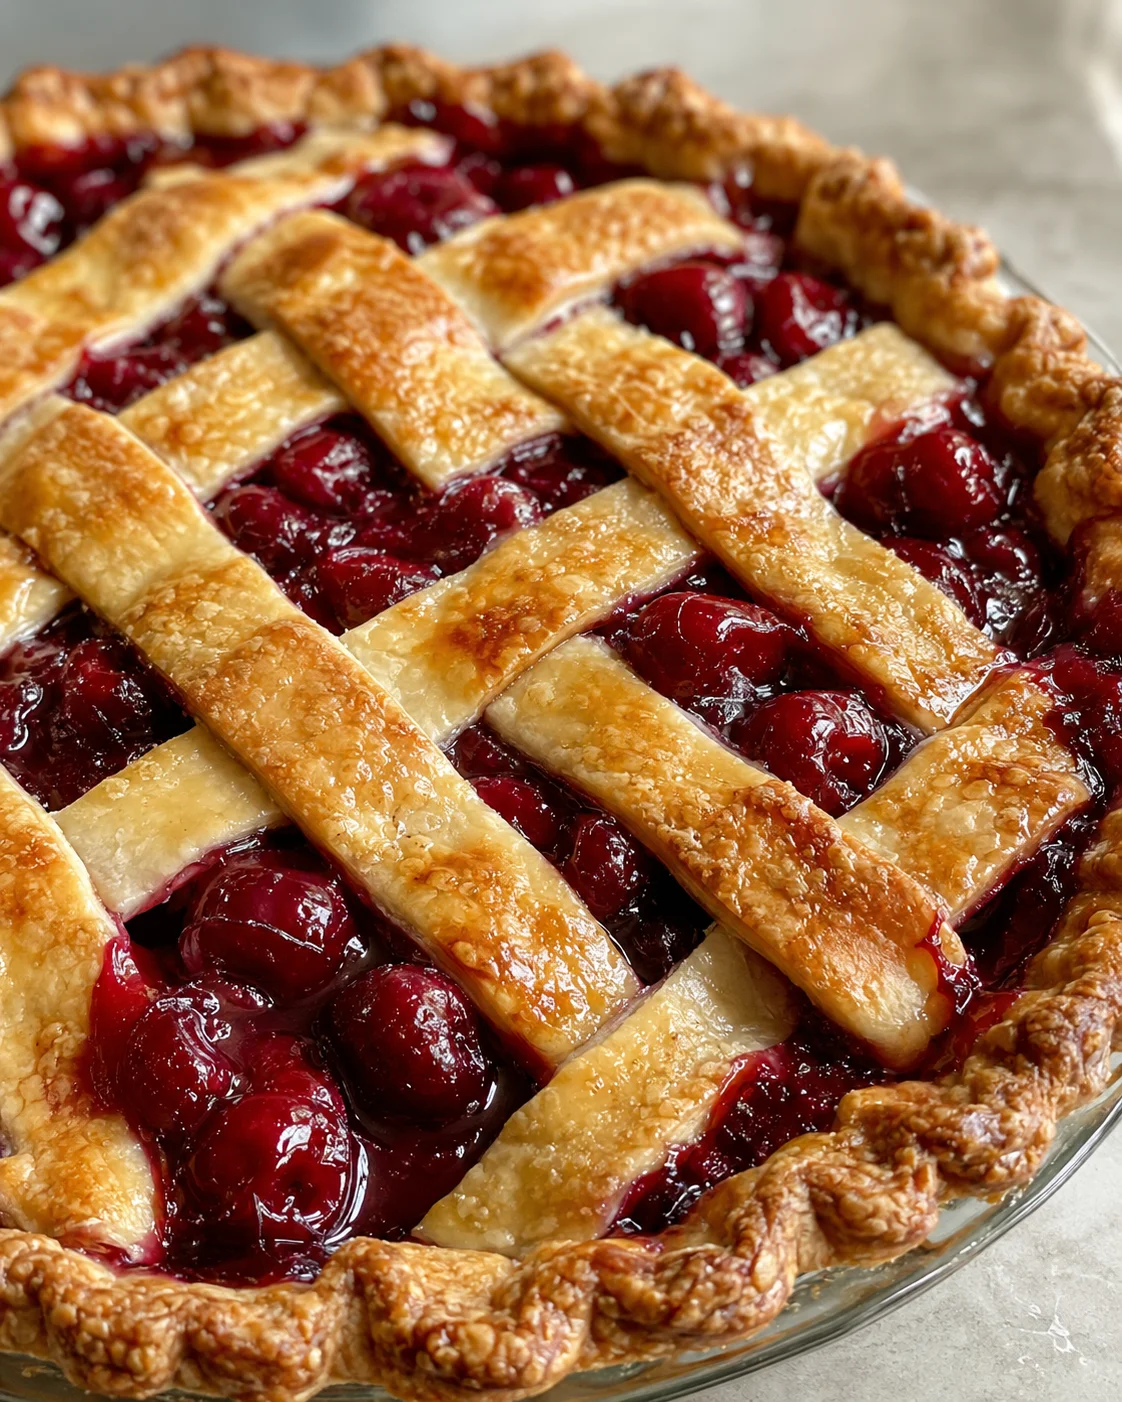
Homemade Cherry Pie Filling Fresh – Easy Recipe for Perfect Cherry Pies
- 4 cups cherries, pitted (fresh or frozen)
- ¾ cup granulated sugar
- ¼ cup cornstarch
- 1 tablespoon lemon juice
- ½ teaspoon almond extract
- ¼ cup water (or cherry juice)
- Pinch of salt
Cook the Cherry Filling
- Rinse and pit fresh cherries; if using frozen, measure 4 cups and keep them frozen until cooking.
- Whisk together sugar, cornstarch, and a pinch of salt in a small bowl until lump-free.
- Combine cherries, lemon juice, and water (or cherry juice) in a medium heavy-bottomed saucepan over medium heat.
- Gradually stir in the sugar-cornstarch mixture, blending it evenly with the fruit.
- Bring to a simmer, stirring often and scraping the bottom, then maintain a gentle sim
 mer for 5–7 minutes until the sauce thickens and becomes glossy.
 -
If using frozen cherries or if excess liquid appears, cook 1–2 minutes longer and/or reduce added water until thickened.
- Remove from heat and stir in almond extract.
- Let the filling rest about 10 minutes to cool and thicken before using.
Expert Tips for Glossy Results
One of my key tips: whisk sugar and cornstarch together before adding heat. This helps break up any starch lumps so you get a silky sauce. I learned this the hard way after a batch with annoying little clumps! Now, I never skip it.
Another trick is stirring from the bottom of the pan to keep thickening even. The sauce thickens first where it’s hottest, so scraping the bottom ensures no lumps or stuck bits. I like a silicone spatula so I can feel when the sauce has thickened just right — when it drags a bit but still flows.
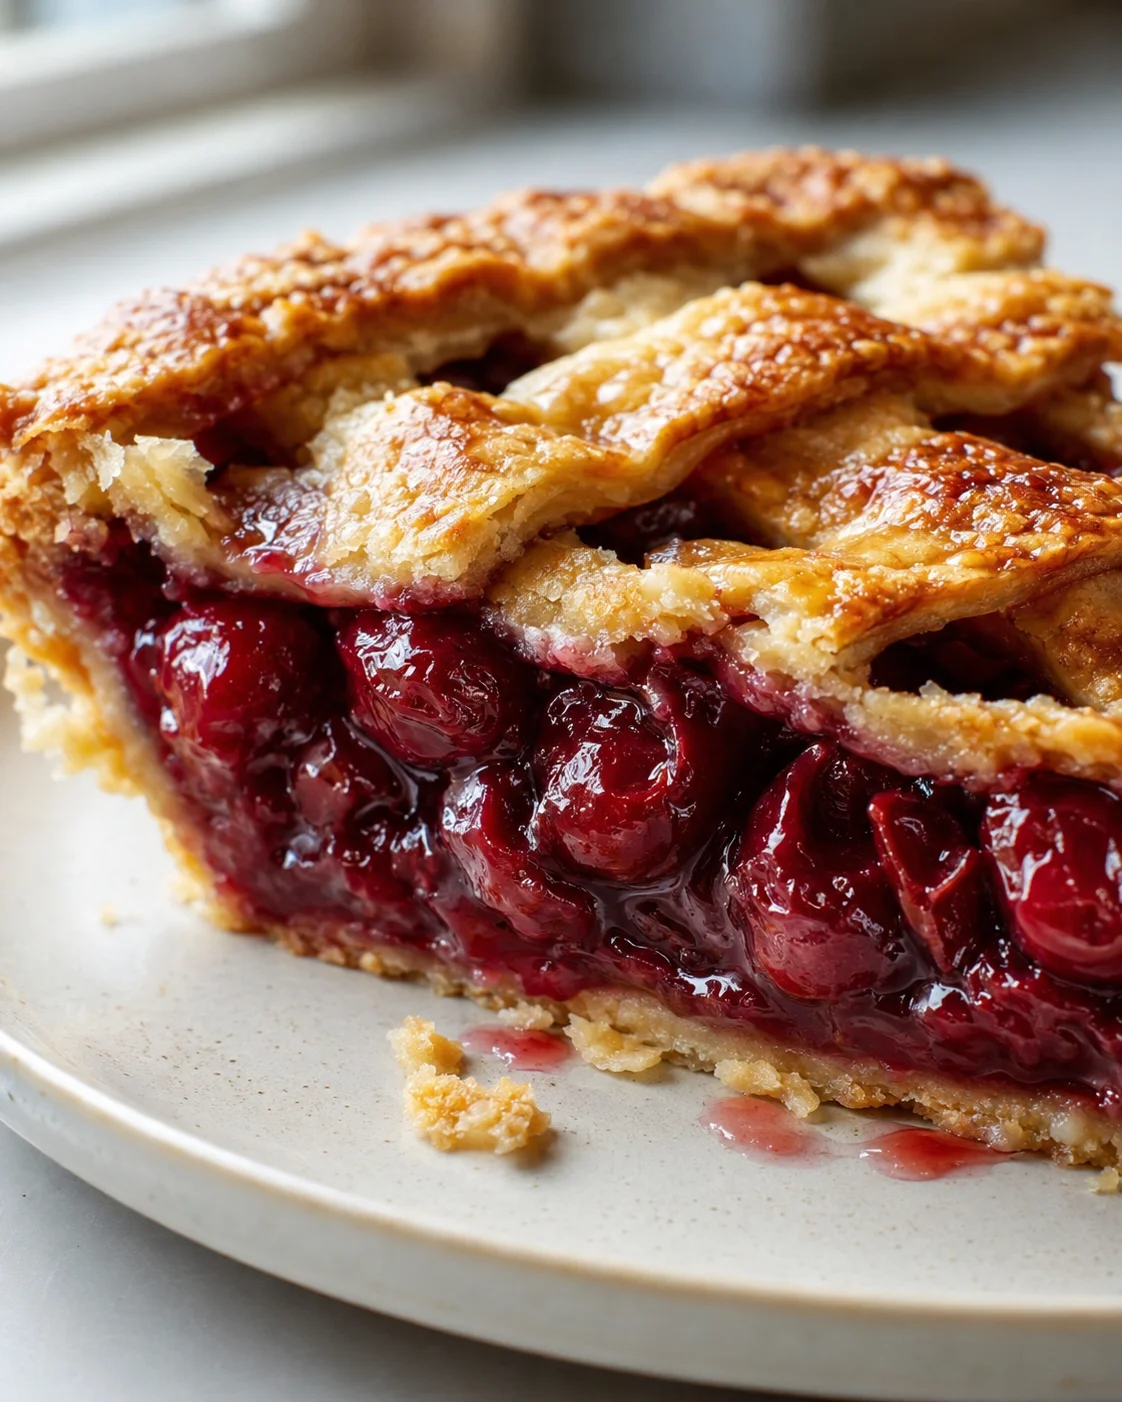
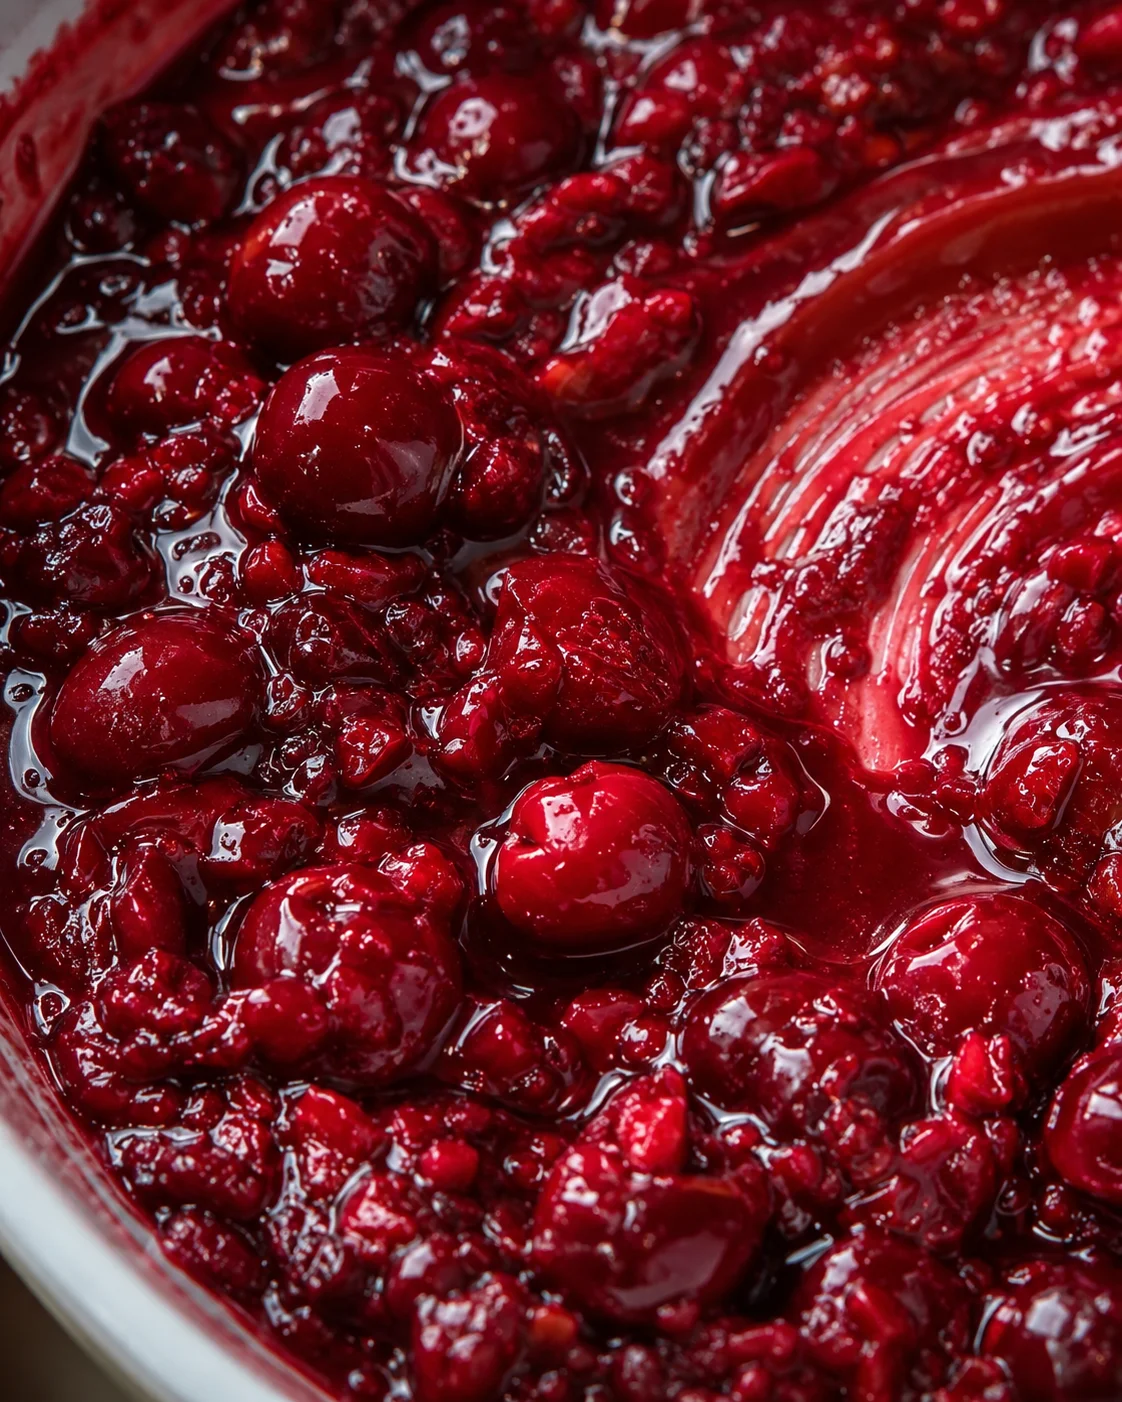
You want the sauce to look clear and glossy, not cloudy or dull — the same sheen you want in a Triple Berry Pie. When you drag a spoon through, it should leave a visible path for a few seconds. If it looks watery, it needs more simmering. If it feels pasty and stiff, it’s probably overcooked.
After cooking, I let the filling rest for around ten minutes. This helps it thicken further and settle. This rest is perfect if you’re swirling it into recipes like Cherry Cheesecake Brownies with Cherry Pie Swirl, or spooning it over a No Bake Strawberry Cheesecake.
If it seems too thin, just pop it back on medium heat and cook a bit longer until glossy and thick. If too sweet, a squeeze of lemon juice brightens it right up. If it tastes too sharp, stirring in a tablespoon of sugar while still warm softens it up.
If lumps do appear, strain the hot filling through a fine sieve and whisk it smooth. To keep this from happening, always whisk those dry ingredients well before cooking. I say that to myself every time—it really saves the batch!
Flavor Variations and Add-Ins
You can switch almond extract with a teaspoon of vanilla for a more mellow finish. For a richer texture, stir in a tablespoon of butter right at the end. Swap half the granulated sugar for light brown sugar to add a lovely caramel note to your cherry pie filling.
If you like texture variety, reserve one cup of cherries and fold them in after thickening for extra chunks. Or mash some cherries during cooking if you prefer a smoother sauce. For a deep, layered cherry flavor, try pairing this filling with a spoonful of my Cherry Jam Recipe inside your pie crust — it’s a game-changer.
Storing and Freezing Instructions
If you’re using the filling the same day, you can leave it at room temperature for a few hours. Otherwise, keep it in an airtight container in the fridge for up to one week. For longer storage, freeze it in a freezer bag with air squeezed out for up to three months.
When you’re ready to use frozen filling, thaw it overnight in the fridge and warm it gently on the stove if needed. The texture stays nice and thick and that glossy finish holds up great. I usually make a double batch to keep some homemade cherry pie filling handy for last-minute desserts, like spooning it over a classic Panna Cotta recipe.
Quick tips: measure cherries after they’re pitted to get the right amounts. Use a heavy-bottomed pan to avoid burning. Stir often once bubbling starts to keep the sauce smooth. And always cool the filling before adding to raw crusts, so you keep that crust flaky and crisp.
This recipe is one to keep in your rotation if you love homemade pies and desserts—if you enjoy fruit pies, try our Peach Mango Pie recipe for another flaky lattice pie with juicy filling. It takes simple ingredients and builds them into a beautifully structured, tasty cherry pie filling that makes any dessert feel special.

Common Questions About the Filling
-
Q: Can I use frozen cherries?
A: Absolutely! Just measure 4 cups frozen cherries without thawing. If they release extra liquid while cooking, reduce the added water and cook an extra minute or two until the sauce thickens and shines.
-
Q: Should I use sweet or tart cherries?
A: Both work well. Sweet cherries give a full, mellow flavor. Tart cherries add a nice brightness that balances sweetness. Mixing the two is also delicious. The recipe is designed to highlight either choice.
-
Q: Do I need to pit the cherries?
A: Yes, fresh cherries should be pitted before cooking. Measuring cherries after pitting ensures your recipe stays accurate.
-
Q: How do I store and reheat the filling?
A: Store in an airtight container in the fridge for up to a week, or freeze for up to three months with air pressed out. Thaw overnight and gently reheat on the stove, stirring to bring back that glossy texture.
-
Q: What if lumps form?
A: To avoid lumps, always whisk sugar, cornstarch, and salt well before adding heat. If lumps appear during cooking, strain the hot filling through a sieve and whisk smooth, or return to low heat and whisk until smooth.
-
Q: My filling is too thin or too thick — what can I do?
A: If it’s too thin, simmer on medium heat a bit longer until it thickens and becomes glossy (usually 5–7 minutes). If it’s too thick or pasty from overcooking, warm gently and whisk in a tablespoon or two of warm water or cherry juice to reach the right consistency.
-
Q: Can I substitute cornstarch?
A: Yes, tapioca or arrowroot are good substitutes with some differences. Tapioca yields a thicker, chunkier texture that bakes well; arrowroot gives clear shine but can break down if boiled too long, so watch cooking times closely.
-
Q: Can I use this filling in pies that will be baked or in unbaked tarts?
A: Definitely. This filling is pre-cooked and works great in pies and tarts—browse our Holiday Pie Recipes for ideas. For best crust, cool the filling before adding to raw dough. If baking the pie assembled, chilling the filling first helps prevent soggy bottoms.
-
Q: Can I double the recipe?
A: Yes, just use a larger pan with a heavy bottom to keep heat even and prevent burning when doubling the batch.

A quick and easy recipe for a fresh-tasting, glossy cherry pie filling using fresh or frozen cherries, sugar, cornstarch, lemon juice, and almond extract. Perfect for pies, tarts, bars, cheesecakes, or as a topping.
- Prep Time: 5 minutes
- Cook Time: 15 minutes
- Total Time: 20 minutes
- Yield: Approximately 4 cups of cherry pie filling (enough for one 9-inch pie) 1x
- Category: Dessert
Ingredients
- 4 cups cherries, pitted (fresh or frozen)
- 3/4 cup granulated sugar
- 1/4 cup cornstarch
- 1 tablespoon lemon juice
- 1/2 teaspoon almond extract
- 1/4 cup water (or cherry juice)
- Pinch of salt
Instructions
- Rinse and pit fresh cherries; if using frozen cherries, measure 4 cups and keep them frozen until cooking.
- Whisk together sugar, cornstarch, and a pinch of salt in a small bowl until lump-free.
- Combine cherries, lemon juice, and water (or cherry juice) in a medium heavy-bottomed saucepan over medium heat.
- Gradually stir in the sugar-cornstarch mixture, blending it evenly with the fruit.
- Bring to a simmer, stirring often and scraping the bottom, then maintain a gentle simmer for 5–7 minutes until the sauce thickens and becomes glossy.
- If using frozen cherries or if excess liquid appears, cook 1–2 minutes longer and/or reduce added water until thickened.
- Remove from heat and stir in almond extract.
- Let the filling rest about 10 minutes to cool and thicken before using.
Notes
Whisk sugar and cornstarch together before cooking to prevent lumps., Stir from the bottom of the pan to avoid stuck bits and ensure even thickening., The sauce should be clear and glossy, leaving a visible path when a spoon is dragged through it., If too thin, simmer longer; if too thick, whisk in warm water or cherry juice to adjust., Strain hot filling through a fine sieve if lumps appear., Flavor variations include substituting almond extract with vanilla, adding a tablespoon of butter, or swapping half the sugar for light brown sugar., Reserve 1 cup of cherries to fold in after thickening for extra texture or mash some for a smoother sauce., Store filling up to 1 week refrigerated or freeze up to 3 months., Reheat gently to maintain glossy texture., Use in pies, tarts, bars, cheesecakes, or over ice cream.
Nutrition
- Serving Size: About 1/2 cup
- Calories: Approximately 120 calories per 1/2 cup serving
- Fat: 0 grams per serving
- Carbohydrates: 30 grams per serving
- Protein: 1 gram per serving
More in Uncategorized