Cheeseburger Sliders (Easy, 30-min Recipe)

Cheeseburger sliders are everything we adore about classic burgers — juicy, cheesy, and packed with beefy goodness! They’re super quick to make, perfect for prepping ahead, and reheat beautifully, making them a total win for busy weeknights or fun gatherings. Check out the video tutorial and trust me, you’ll be dreaming about them until you have these sliders in your hands.
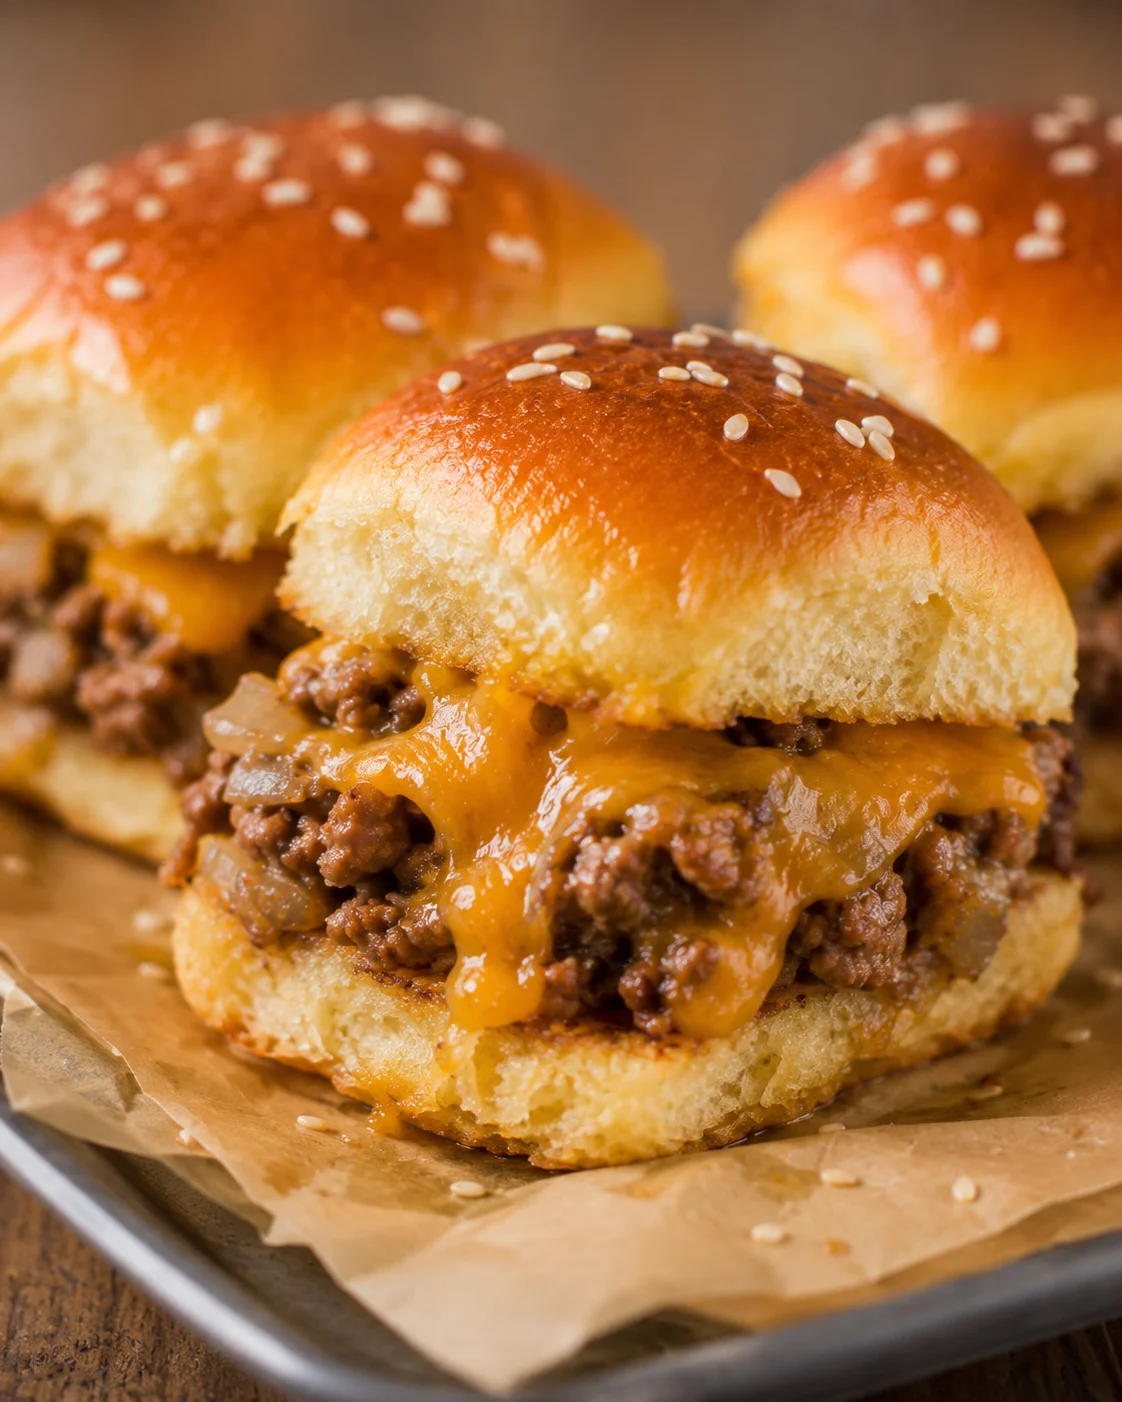
We whipped up these cheeseburger sliders for our daughter’s 5th birthday bash, and let me tell you, not having to hover by the grill was a total game changer. I made them earlier in the day, which took a big load off my shoulders when feeding a crowd. The kids went nuts for these adorable little sliders, and honestly, they vanished faster than I could blink!
P.S. If you’re cooking for a smaller crew, this recipe slices in half nicely — just keep the baking time the same, and you’re good to go.
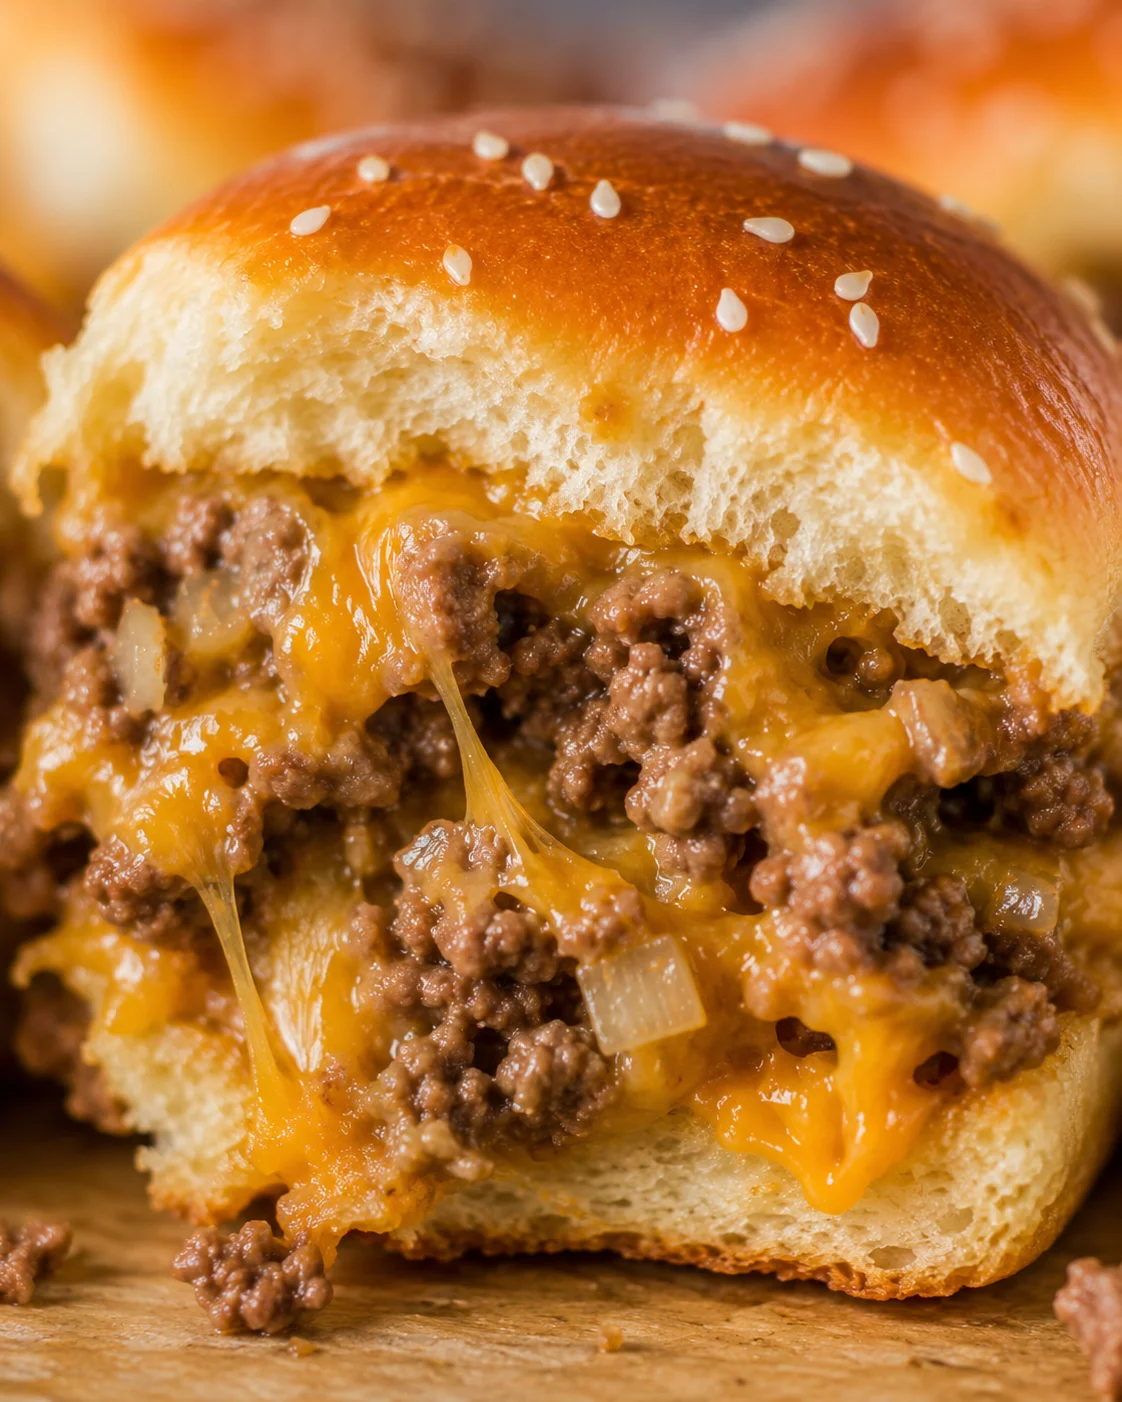
If you’re a fan of classic cheeseburgers but want a simpler way to serve them, these cheeseburger sliders are your new best friend. They’re small but mighty, stacking juicy beef, melty cheddar, and soft, buttery rolls into easy-to-handle bites. These sliders shine at parties, game day spread, or even a quick family dinner.
This recipe is super straightforward, ready in about 30 minutes, and yields 24 sliders using a 24-pack of dinner rolls (or half that for fewer sliders). You can prep them ahead of time and reheat without losing any deliciousness. Best part? They use easy, everyday ingredients like lean ground beef, cheddar cheese, dinner rolls, a touch of butter, and simple seasonings. Plus, there’s a handy video and lots of tips below to make assembly, baking, storing, and reheating a breeze.
Keep reading for a no-fuss ingredient list, clear step-by-step instructions, creative serving ideas, and helpful troubleshooting tips to make sure your cheeseburger sliders turn out juicy, cheesy, and crowd favorites every time.
Why These Sliders Shine
These cheeseburger sliders nail everything we crave about classic burgers but in a smaller, fuss-free package. They’re juicy, packed with melty cheddar, and full of hearty beef flavor. The recipe comes together in about half an hour and serves a big group with just one baking pan of 24 sliders. They’re perfect for prepping in advance, and they reheat beautifully for meal prep or leftovers using simple ingredients you likely have on hand.
- Quick and simple — only about 30 minutes from start to finish with minimal hands-on time.
- Party-perfect — ideal for game day, kids’ parties, or casual get-togethers; serve alongside Fried Pickle Dip for an easy appetizer pairing.
- Make-ahead friendly — prep them earlier in the day or night without fuss.
- Customizable — swap out rolls, cheese types, or toppings to suit your taste.
- Feeds a crowd — one recipe makes 24 sliders, and you can halve it if needed; round out the spread with Sheet Pan Ground Beef Nachos if you’re hosting a larger group.
Ingredients You’ll Need
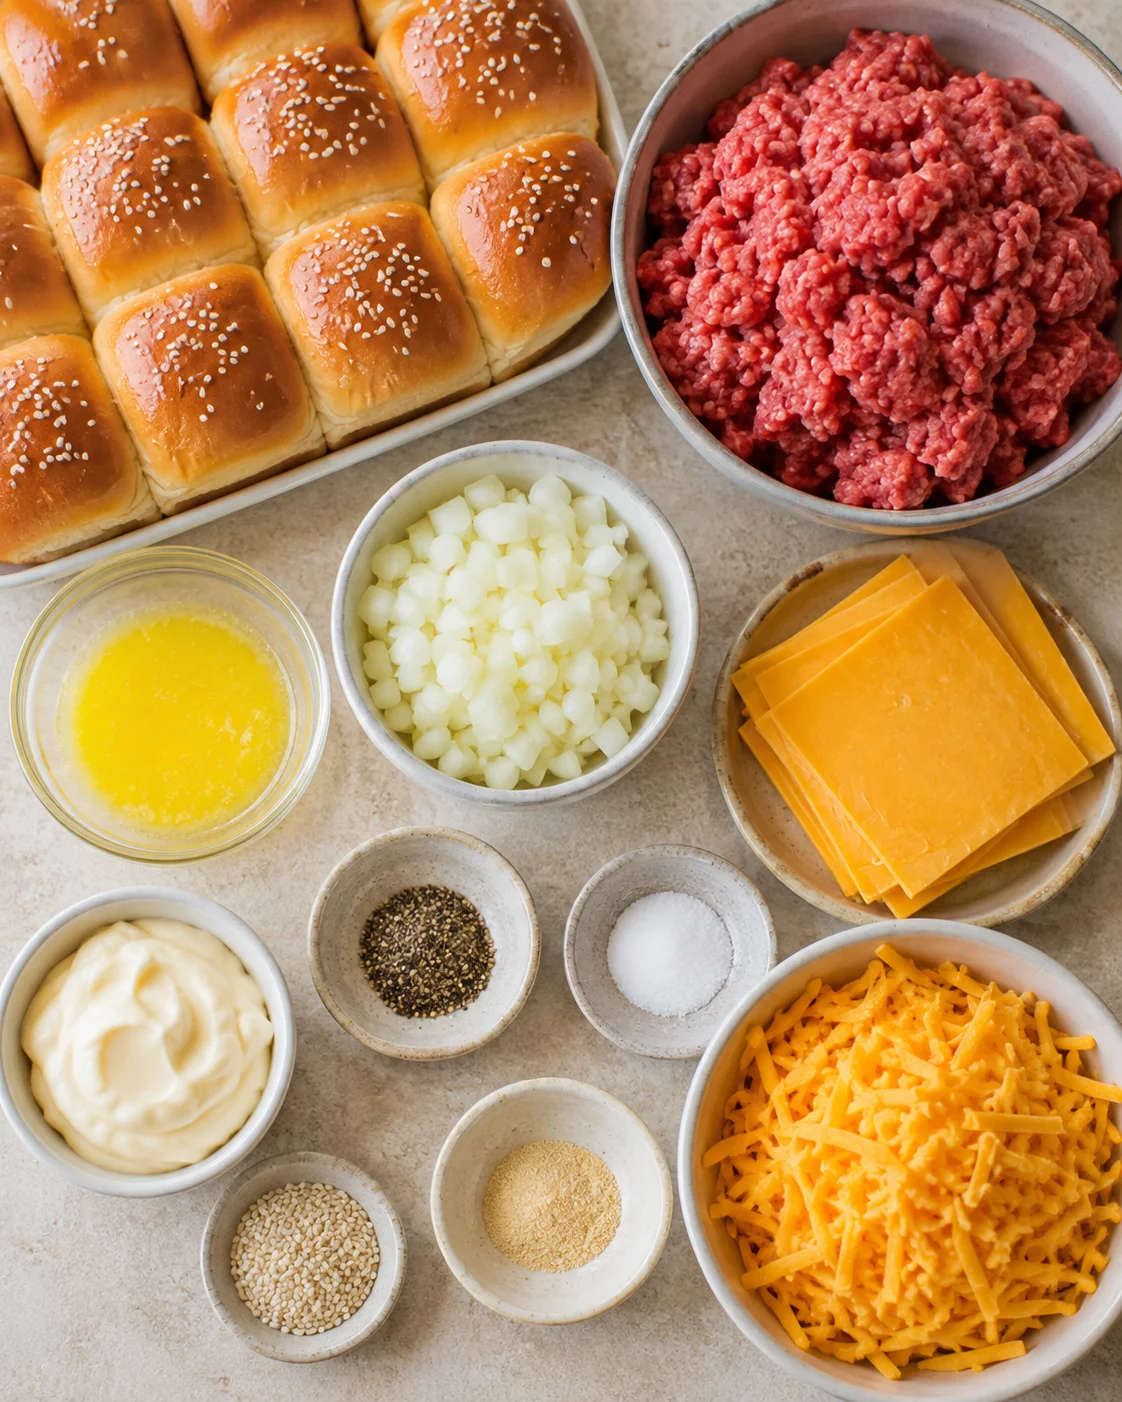
- 2 lb lean ground beef, (90/10 or 93/7 fat content)
- 1 tsp black pepper
- 8 slices medium cheddar cheese
- 6 oz medium cheddar, shredded (or used more sliced cheese)
- 24 dinner rolls, (or use 2 packs of 12)
- 2 Tbsp unsalted butter, melted, plus more to grease baking sheet
- diced onion
- a drizzle of olive oil
- salt
- garlic powder
- mayonnaise
- sesame seeds
How to Make the Sliders
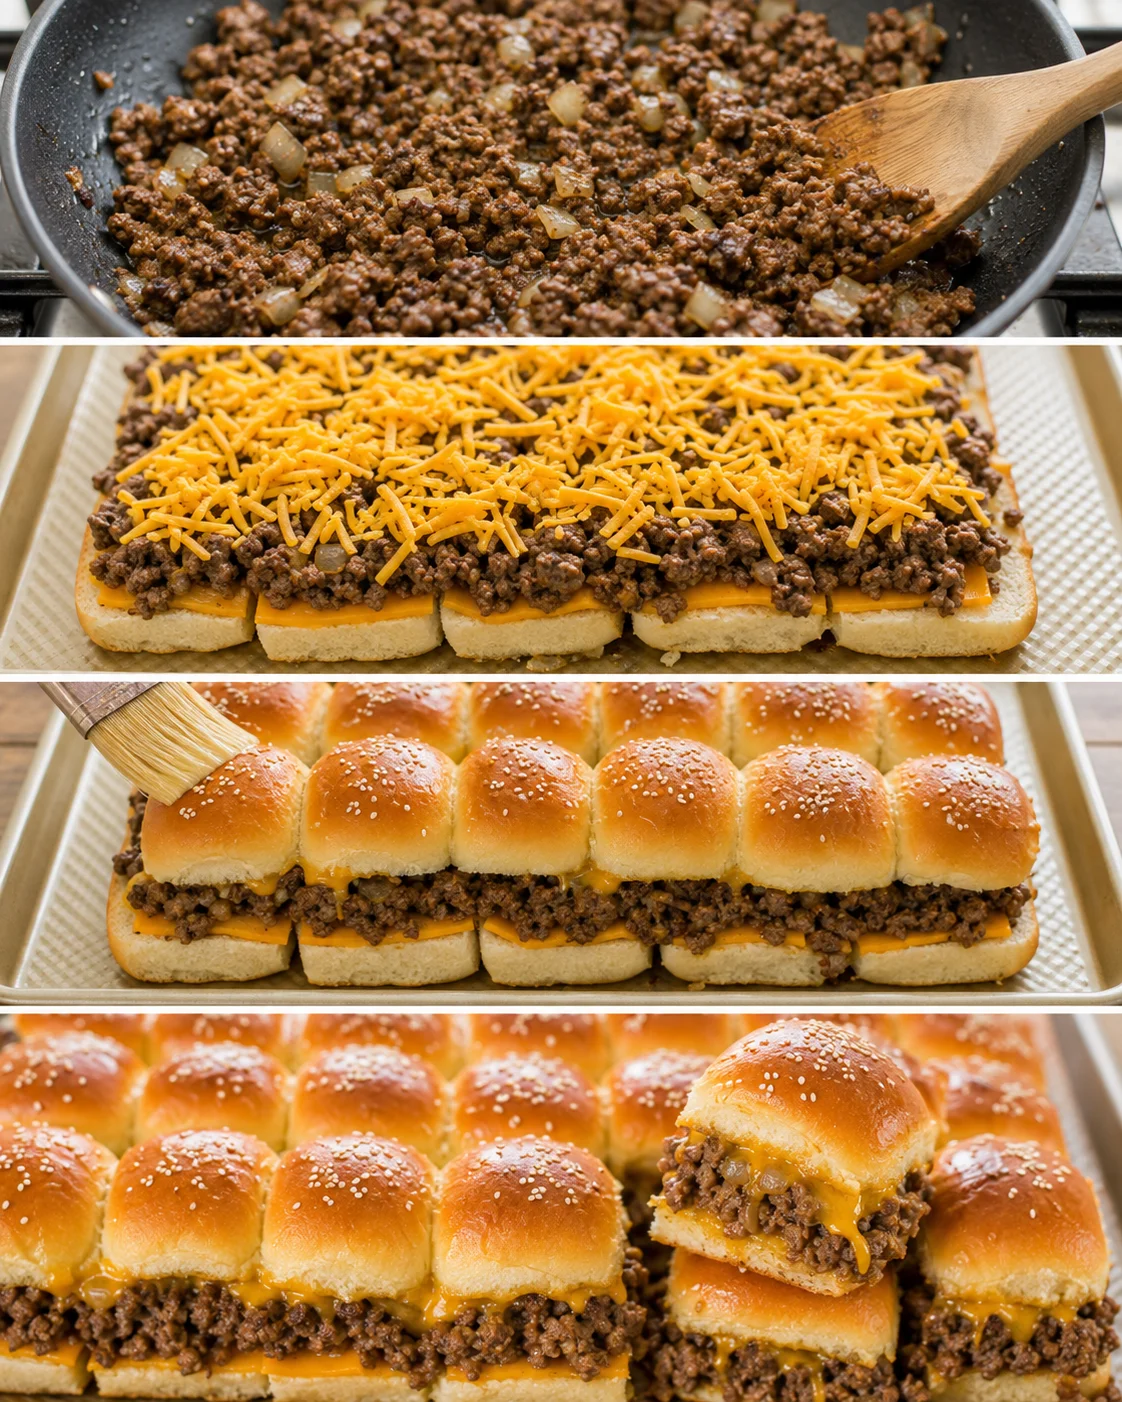
- Preheat oven to 350°F and lightly grease a rimmed baking sheet with butter.
- Heat a large skillet over medium-high heat with a drizzle of olive oil.
- Add diced onion to the skillet, then add 2 lb lean ground beef and break it apart with a spatula as it cooks.
- Season the beef with salt, black pepper, and garlic powder and cook until fully cooked.
- Tilt the skillet and drain off excess fat and liquid.
- Stir mayonnaise into the cooked beef to bind and add creaminess.
- Slice the dinner rolls horizontally and place the bottom halves on the buttered baking sheet.
- Line the bottom halves of the rolls with slices of cheddar cheese.
- Spread the cooked beef mixture over the cheese, smoothing and squaring the edges with the back of a spatula.
- Sprinkle shredded cheddar evenly over the beef.
- Place the top halves of the rolls cut-side down onto the cheese layer.
- Brush the roll tops with melted butter and immediately sprinkle with sesame seeds.
-
Bake uncovered at 350°F for 12–15 minutes, until the cheese is melted and the tops are golden brown.
Tips for Best Results
- Make sure to spoon out excess fat and liquid from the beef to keep buns from turning soggy—this same step keeps tortillas crisp in Baked Beef Tacos.
- Layering sliced cheese under and shredded cheese over the beef helps seal in flavor and moisture without wetting your buns.
- Brush melted butter on top buns and sprinkle sesame seeds immediately so they stick better.
-
Bake the sliders uncovered — this helps prevent steam from making the rolls soft and soggy.
Serving Ideas and Variations
One of the best things about sliders is how versatile they are! Serve them as a fun appetizer, a quick lunch, or a satisfying dinner main course. We like to keep things classic by pairing our cheeseburger sliders with crisp, chilled dill pickles. They also go wonderfully with crispy baked potato wedges for a hearty side, or with a pan of garlic Parmesan roasted zucchini. For a refreshing drink, pour a pitcher of Peach Lemonade.
Because these sliders show off all the mouthwatering flavors of traditional cheeseburgers, try them with homemade burger sauce, or go with classic condiments like ketchup, mayo, and mustard to jazz them up just right.
Storage and Make-Ahead Tips
Good news — you can totally make these sliders ahead of time! Prepare them up to a day before your event, cover tightly, and keep refrigerated. When it’s time to bake from chilled, simply add about 3 extra minutes to the baking time until everything’s hot and the cheese is melted.
They also reheat like a dream. To warm leftover sliders: microwave each one uncovered for 15 to 20 seconds, or heat a full tray in the oven until heated through. Either way, you get juicy, melty sliders just like fresh.
Common Questions & Answers
- Can I make these ahead? Absolutely! Assemble your sliders, cover them tightly, and keep refrigerated up to 24 hours. When baking from chilled, just add about 3 minutes to the bake time or bake until heated through and cheese is melty. For another make-ahead party bite, try Cheese and Meat Roll-Ups.
- How should I reheat leftovers? Microwave each slider uncovered for about 15–20 seconds or reheat a tray in the oven at 350°F until warmed through.
- What kind of rolls and cheese work best? A 24-pack of dinner rolls like King’s Hawaiian is ideal. For cheese, line the bottom buns with sliced cheddar and sprinkle shredded cheddar over the beef. You can swap in American, Swiss, pepper jack, or any cheese you love that melts well.
- Which ground beef should I use? Lean ground beef (90/10 or 93/7) works best to avoid extra fat, which can cause sogginess. If you use fattier beef, be sure to spoon off the extra fat after cooking.
- Can I halve the recipe? Yes, this recipe scales perfectly in half. Baking instructions stay the same.
- Can I freeze cheeseburger sliders? Totally! Fully cooked sliders freeze great. Let them cool, wrap individually or as a tray, and freeze for up to a month. Thaw overnight in the fridge before reheating in the oven or microwave. You can also freeze raw assembled sliders but be sure to thaw completely and bake until heated through.
-
How do I avoid soggy buns? The best trick is to spoon off excess fat after cooking your beef, line the bottom buns with cheese to seal moisture, and bake uncovered so steam can escape.
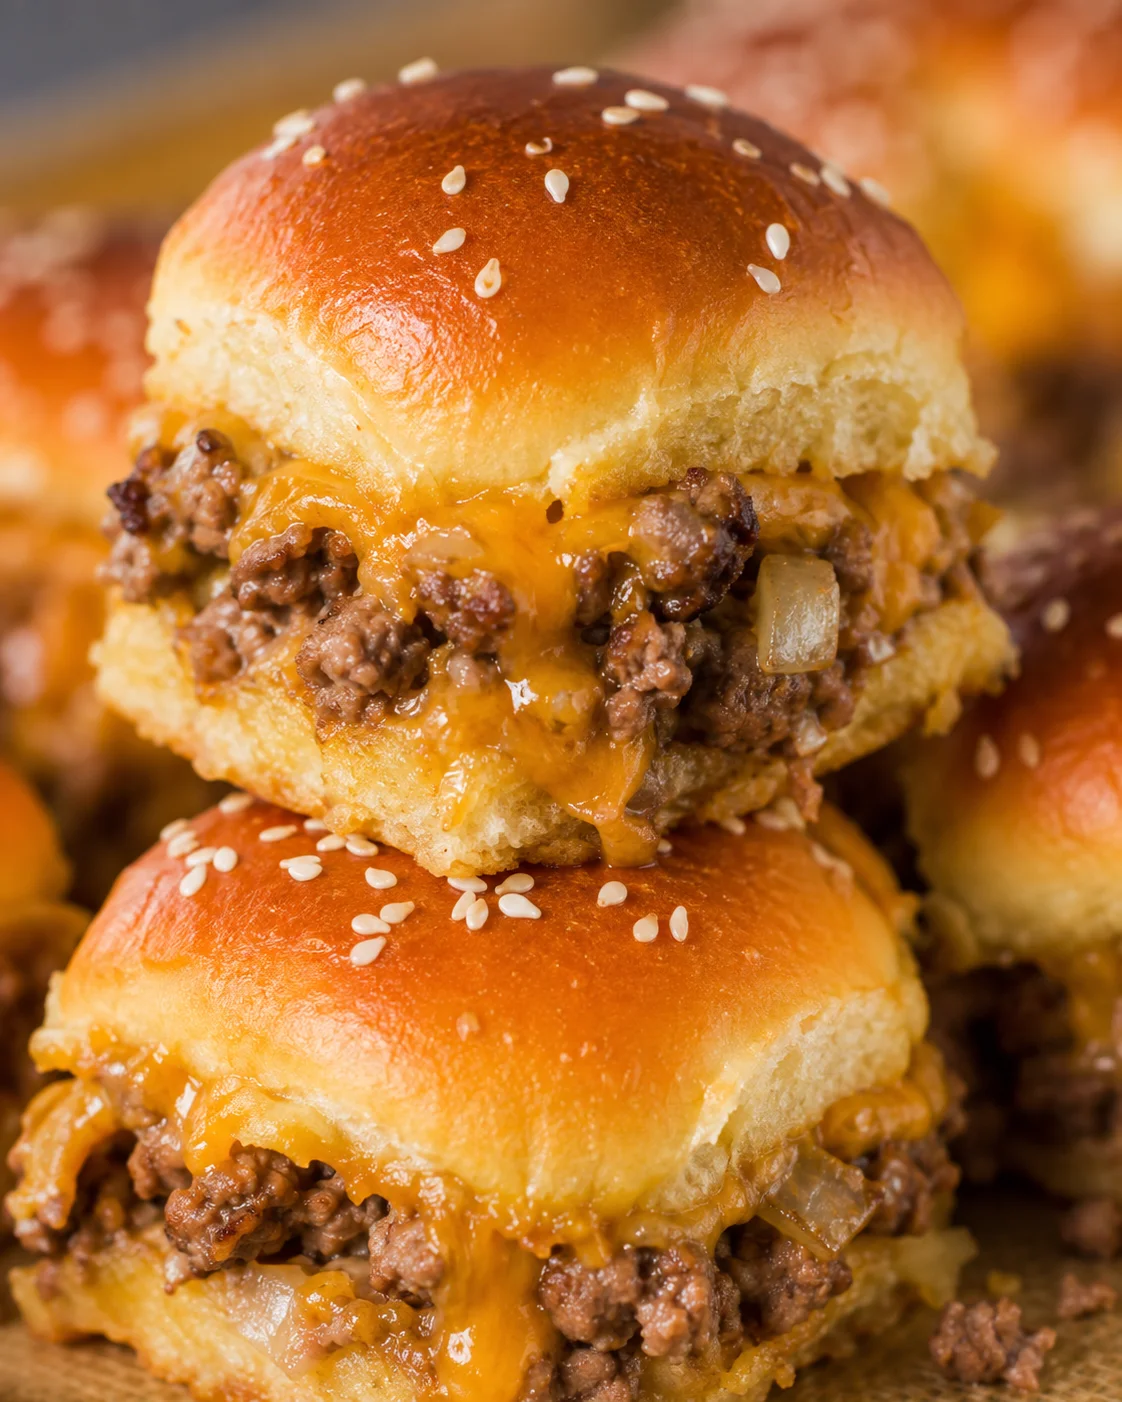
Juicy, cheesy cheeseburger sliders made with lean ground beef and cheddar cheese on soft dinner rolls. Perfect for quick meals, parties, or game day gatherings. Make-ahead friendly and reheats well.
- Prep Time: 15 minutes
- Cook Time: 15 minutes
- Total Time: 30 minutes
- Yield: 24 sliders 1x
- Category: Main Course
- Cuisine: American
Ingredients
- 2 lb lean ground beef (90/10 or 93/7 fat content)
- 1 tsp black pepper
- 8 slices medium cheddar cheese
- 6 oz medium cheddar, shredded (or more sliced cheese)
- 24 dinner rolls (or 2 packs of 12)
- 2 Tbsp unsalted butter, melted, plus more for greasing baking sheet
- Diced onion (amount not specified)
- A drizzle of olive oil (amount not specified)
- Salt (to taste)
- Garlic powder (to taste)
- Mayonnaise (amount not specified)
- Sesame seeds (amount not specified)
Instructions
- Preheat oven to 350°F and lightly grease a rimmed baking sheet with butter.
- Heat a large skillet over medium-high heat with a drizzle of olive oil.
- Add diced onion to the skillet, then add the 2 lb lean ground beef and break it apart with a spatula as it cooks.
- Season the beef with salt, black pepper, and garlic powder and cook until fully cooked.
- Tilt the skillet and drain off excess fat and liquid.
- Stir mayonnaise into the cooked beef to bind and add creaminess.
- Slice the dinner rolls horizontally and place the bottom halves on the buttered baking sheet.
- Line the bottom halves of the rolls with slices of cheddar cheese.
- Spread the cooked beef mixture over the cheese, smoothing and squaring the edges with the back of a spatula.
- Sprinkle shredded cheddar evenly over the beef.
- Place the top halves of the rolls cut-side down onto the cheese layer.
- Brush the roll tops with melted butter and immediately sprinkle with sesame seeds.
- Bake uncovered at 350°F for 12–15 minutes, until the cheese is melted and the tops are golden brown.
Notes
Spoon out excess fat and liquid from the beef to prevent soggy buns., Layer sliced cheese under and shredded cheese over the beef to seal flavor and moisture., Brush melted butter on top buns and sprinkle sesame seeds immediately for better adherence., Bake the sliders uncovered to avoid steam softening the rolls., To reheat leftovers: Microwave uncovered for 15–20 seconds or heat a full tray in the oven at 350°F until warm and cheese melts., Recipe scales perfectly to half with same baking time., Sliders can be made ahead and refrigerated up to 24 hours before baking, adding about 3 minutes to bake time if baking chilled., Fully cooked sliders can be frozen for up to one month; thaw overnight before reheating.
Nutrition
- Serving Size: 1 slider
- Calories: Approximately 200 calories per slider (estimate)
- Fat: Approximately 12g fat per slider (estimate)
- Carbohydrates: Approximately 20g carbs per slider (estimate)
- Protein: Approximately 10g protein per slider (estimate)
More in Uncategorized
Cranberry Meatballs
Slow Cooker Teriyaki Pork Tenderloin
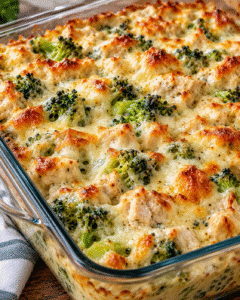
Chicken Broccoli Alfredo Casserole