Classic Cheese Ball

When it comes to holiday appetizers, I truly believe nothing beats a homemade cheese ball recipe. I love that I can whip this up days in advance, stash it in the fridge, and then just pull it out when company arrives. Forget those boring, flavorless cheese balls you find at the store — this one bursts with bold taste thanks to sharp cheddar, Worcestershire sauce, spices, and just a hint of hot sauce. I’ve even wrapped these up as neighbor gifts during the holidays, and mini cheese ball bites are always a hit on a big party platter.
If you’re into easy, crowd-pleasing starters, you should also check out my recipes for Jalapeño Poppers, Burrata Appetizer, Spinach Artichoke Dip, Pimento Cheese Dip, or Whipped Goat Cheese. They’re all simple and packed with flavor!
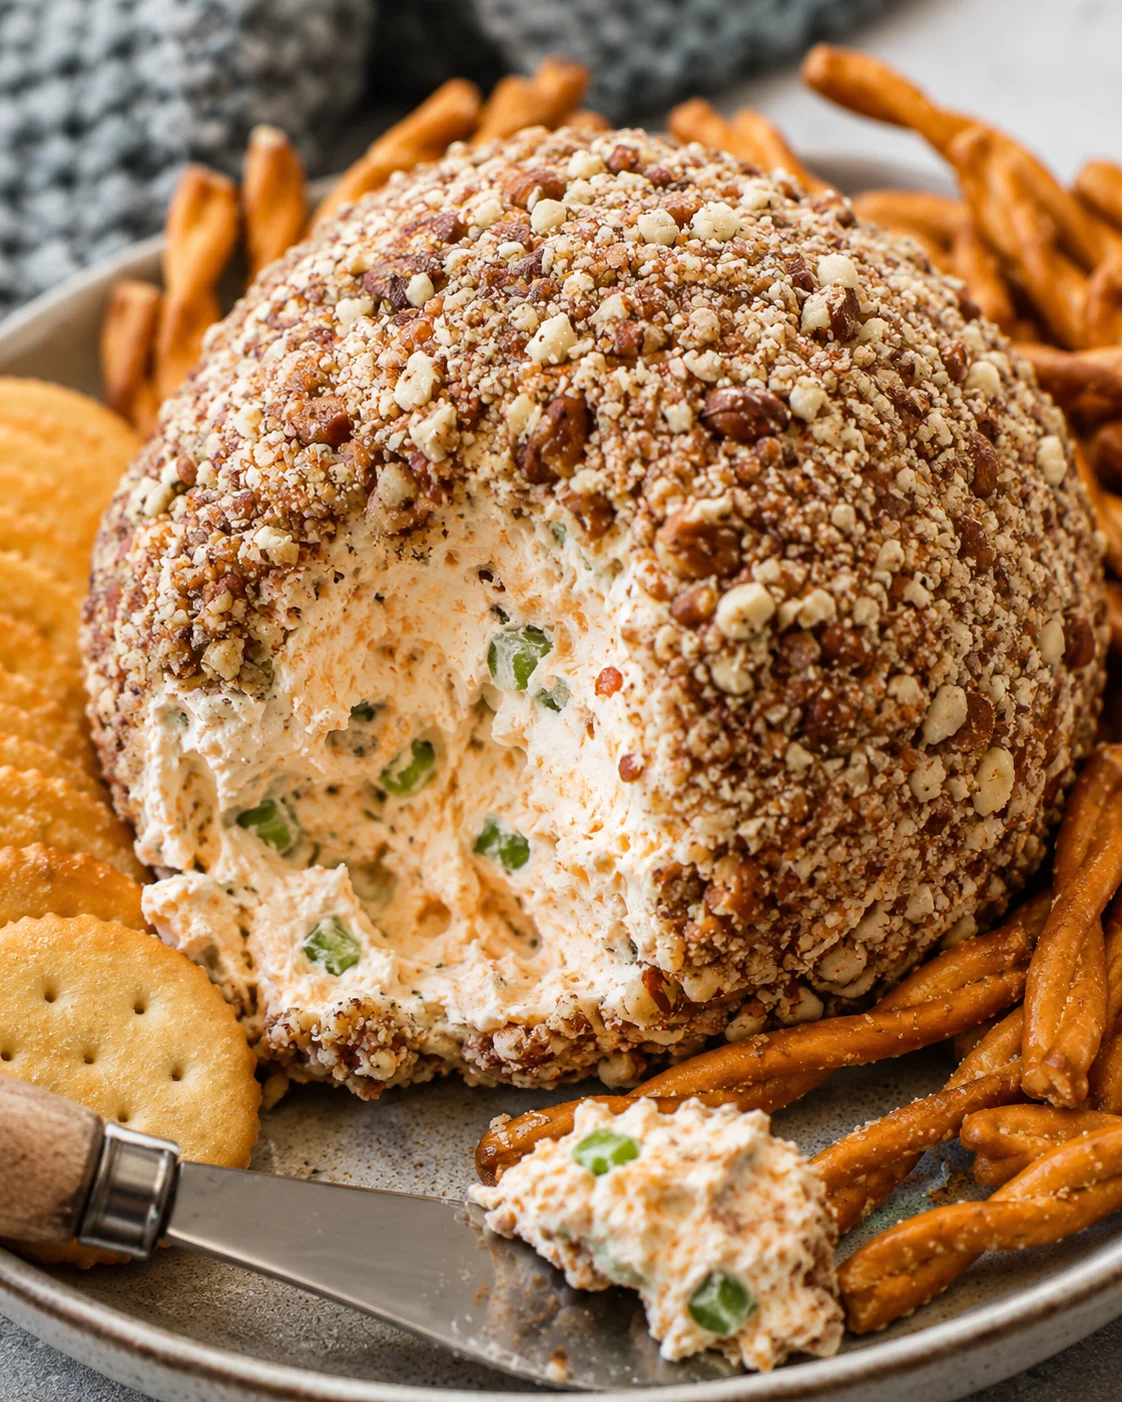
No holiday party feels complete without this classic cheese ball. It’s creamy, tangy, and just so easy to serve. You get the perfect blend of smooth cream cheese mixed with freshly grated sharp cheddar, zesty Worcestershire sauce, a splash of hot sauce, and fresh green onions. Then it’s coated in crunchy chopped pecans, adding the perfect texture. This recipe is a beautiful upgrade from those dull, store-bought options you see on the shelves.
Here’s what makes this cheese ball recipe a breeze and a crowd-pleaser:
- Fast, hands-on prep — about 15 minutes to mix everything and shape the ball, which is great for last-minute gatherings or quick party prep.
- Expert tips to get the best texture — I’ll show you how to grate your own cheddar, soften cream cheese just right, and how to keep your hands neat when forming the ball.
- Make-ahead and storage ideas — you can mix and shape it up to a week ahead, just hold off on adding the nuts until serving if you want, or freeze the uncoated ball for convenience.
- Serving and customization ideas — this recipe makes enough for about 24 tasty bites, perfect with crackers, pretzels, fresh veggies, pita, or mini bagels. Plus, I’ll offer tips for coating swaps and cheese tweaks to match your party vibe.
Keep reading to get the full list of ingredients, clear step-by-step instructions, handy tips, and creative ways to make this cheese ball recipe your own so it’s a guaranteed hit every time!
What Makes It a Crowd-Pleaser
This cheese ball recipe is a total winner for parties because it’s quick to whip up (only 15 minutes prep!), loaded with flavor, and totally flexible—pair it with Sheet Pan Ground Beef Nachos for an easy game-day spread. We’re talking real sharp cheddar, fresh green onions, tangy Worcestershire, and a splash of hot sauce that all come together for a tasty, well-rounded bite. It blows those uninspired grocery store cheese balls out of the water. Even better, you can make it ahead to save time, freeze if you want, and serve it with just about any kind of dippers you like. For drinks, a pitcher of Peach Lemonade keeps the vibe light and refreshing. It’s also super thoughtful to bring as a hostess gift!
Essential Ingredients and Extras
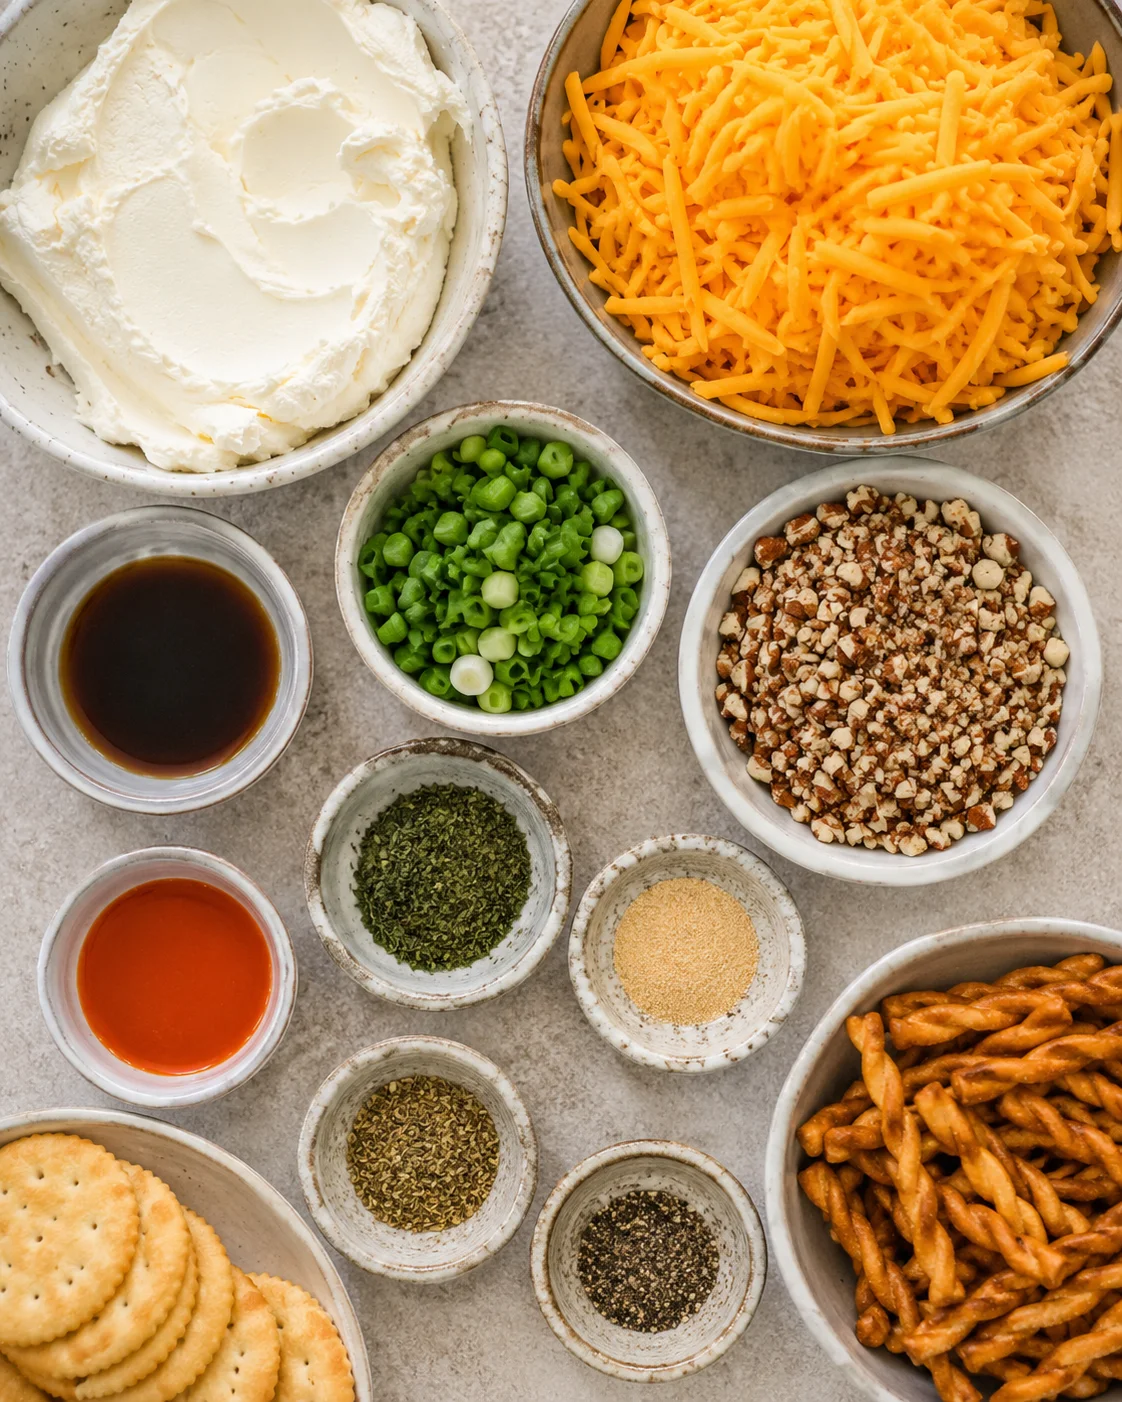
- 16 ounces cream cheese, softened to room temperature
- 2 cups freshly grated sharp cheddar cheese, (skip pre-shredded for best flavor)
- 2 green onions, finely chopped
- 1 teaspoon Worcestershire sauce
- 1 teaspoon hot pepper sauce
- 1 teaspoon dried parsley flakes
- 1/2 teaspoon garlic powder
- 1/2 teaspoon dried oregano
- dash freshly ground black pepper
- 2/3 cup pecans, finely chopped
Mixing, Shaping, and Chilling
- Soften the cream cheese to room temperature.
- Grate sharp cheddar from a block.
- Finely chop the green onions.
- Finely chop the pecans.
- Place the softened cream cheese in a mixing bowl and beat until smooth and creamy.
- Add grated cheddar, chopped green onions, Worcestershire sauce, hot pepper sauce, dried parsley flakes, garlic powder, dried oregano, and a dash of freshly ground black pepper; mix until well combined.
- If the mixture is too soft, add more grated cheddar or chill briefly until firm enough to shape.
-
Scrape down the sides of the bowl with a rubber spatula, lightly grease your hands with non-stick spray or oil, and shape the mixture into a round ball.
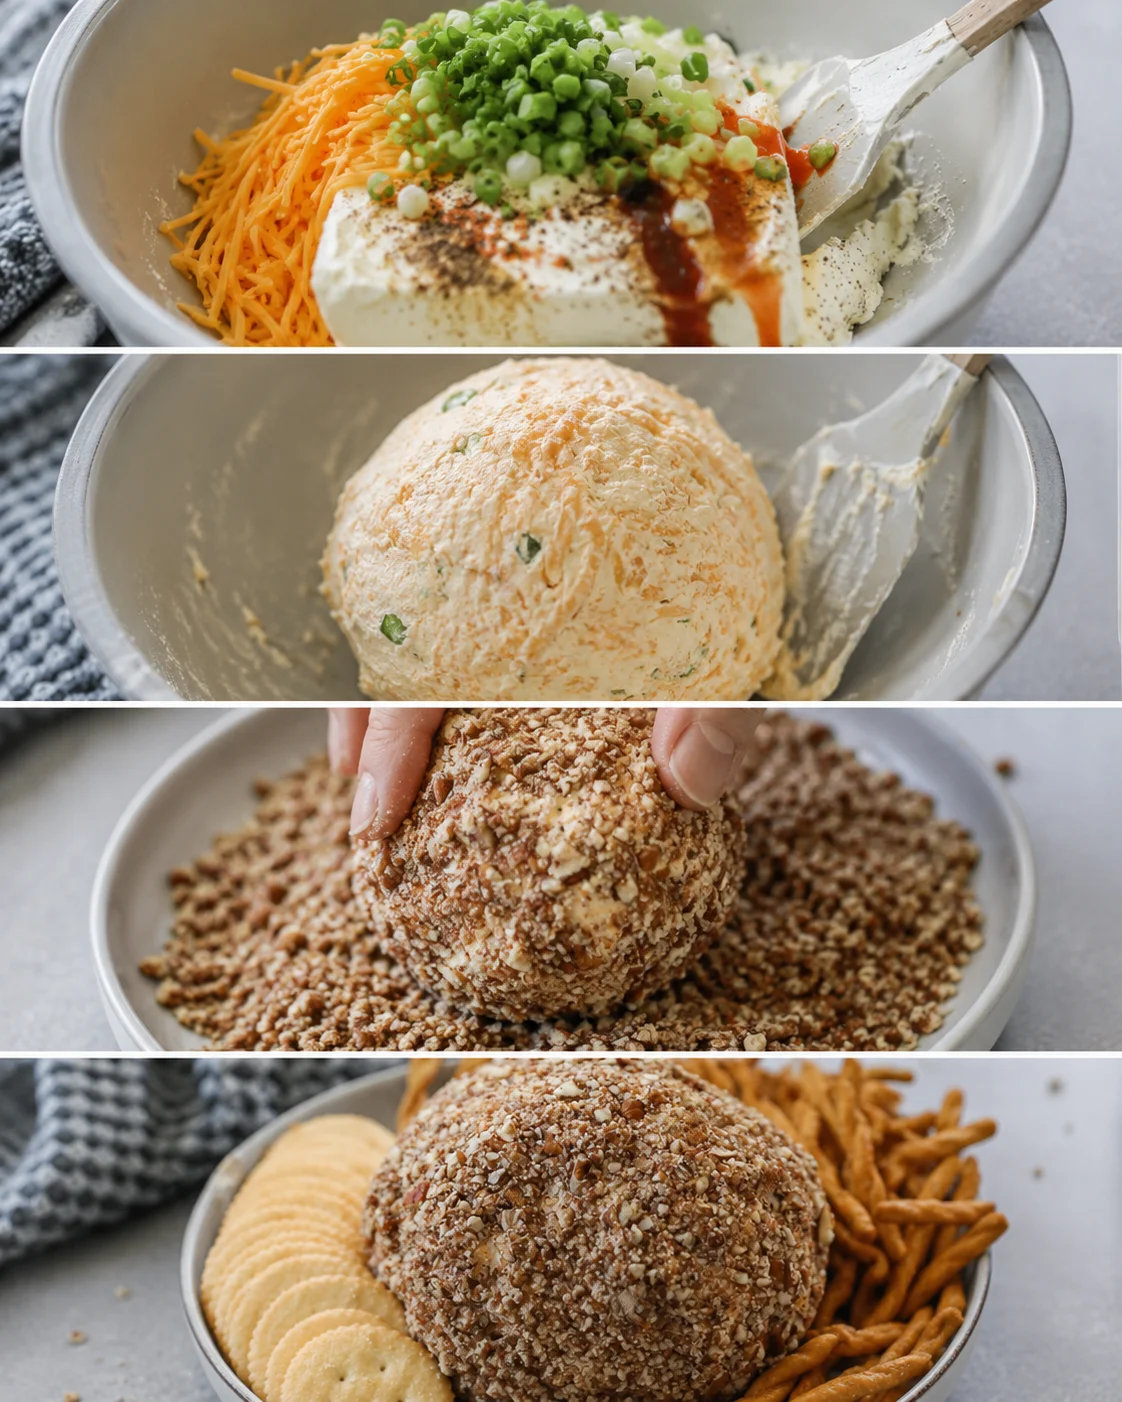
- Pour the chopped pecans onto a plate and press them onto the outside of the cheese ball, turning to coat evenly.
- Wrap the cheese ball tightly in plastic wrap and refrigerate for at least 1 hour to firm up.
- Remove the cheese ball from the fridge about 20 minutes before serving to soften slightly for spreading.
Tips for Perfect Texture
- Always grate your own cheddar from a block. Fresh grated cheese melts better and tastes more vibrant than pre-shredded, which often contains anti-caking additives — see how this impacts a creamy sauce in Chili Mac and Cheese.
- Make sure your cream cheese is softened to room temperature so it blends smoothly without lumps. Cold cream cheese can be stubborn to mix. Tips for softening cream cheese will help you get a silky blend.
- Keep your hands lightly oiled or sprayed with non-stick spray when forming the ball to stop the cheese from sticking and making a mess.
- Chop nuts finely so they cling well to the surface and spreading is easier. Pat them on gently instead of tossing the cheese ball around.
- After forming, chill the cheese ball for at least an hour so it firms up perfectly. Take it out about 20 minutes before serving to soften for spreading ease.
- Serve with a cheese spreading knife. Avoid plunging crackers in directly — they’ll break and leave crumbs everywhere.
- If the mixture feels too soft after stirring, add a bit more grated cheese or chill it briefly to firm. If it’s too firm, let it sit at room temp for 15–20 minutes before serving.
Flavor Swaps and Add-Ins
- Switch up the nuts: try almonds, walnuts, or skip nuts and roll the cheese ball in bacon bits, chopped green onions, or dried cranberries for something sweet and savory.
- Change the cheese: swap sharp cheddar with smoked cheddar, pepper jack for a spicy kick, or blend in goat or blue cheese for a tangier bite.
- Mix in extras: fold in diced jalapeños, roasted red peppers, or sun-dried tomatoes for a fun flavor punch.
- Try different coatings: roll the cheese ball in everything bagel seasoning, freshly chopped herbs, or crushed pretzels for new textures and tastes.
- Mini bites: portion the mix into small balls for easy, grab-and-go appetizer bites, perfect for big gatherings—pair them with another no-fuss finger food like Cheese and Meat Roll-Ups.
Make-Ahead and Storage Guide
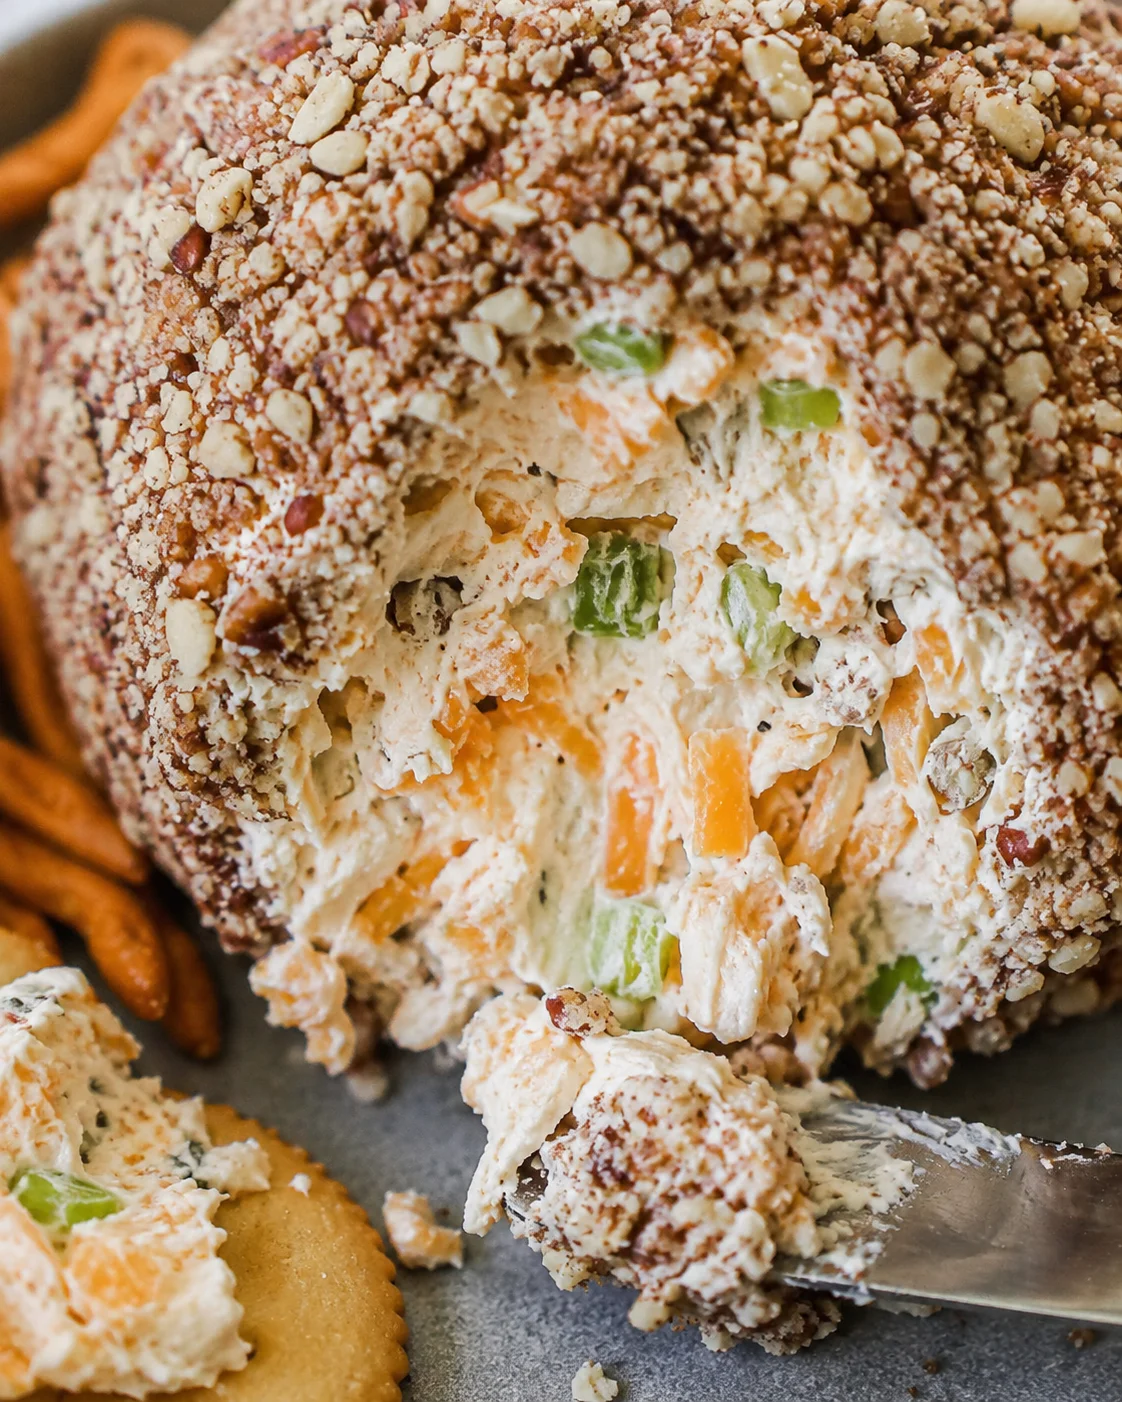
This cheese ball keeps beautifully in the fridge. For the best texture when making ahead, prepare and shape the ball but wait to add the nut coating until about an hour before you serve.
- Refrigerator: Wrapped tightly in plastic wrap or stored in an airtight container, your cheese ball will stay fresh for several days up to two weeks, depending on how fresh your ingredients were. If serving soon, you can add the nuts before chilling; for longer storage, add the nuts later.
- Freezer: Form the cheese ball without nuts, wrap it tightly in plastic wrap, and store in a freezer-safe bag for up to one month. Thaw overnight in the fridge, then add nuts before serving.
- Serving safety: Don’t leave the cheese ball out at room temperature for more than two hours to keep it safe. If you’re hosting a party, refill small platters and put extras back in the fridge as needed.
Answers to Common Questions
- Can I use low-fat cream cheese? Yes! Both regular and low-fat work well, though low-fat versions have a slightly lighter flavor.
- Is pre-shredded cheese okay? For the best results, grate your own cheese from a block. Pre-shredded often includes anti-caking agents and won’t blend as smoothly.
- How long should I chill the cheese ball? At least one hour to let it firm up. Then take it out about 20 minutes before serving to soften for easy spreading.
- Can I make this recipe ahead? Absolutely! You can form the cheese ball and refrigerate it (without nuts) up to a week ahead. Add the nut coating just before serving.
- Can I freeze it? Yes, freeze the uncoated ball wrapped tightly for up to one month. Always thaw fully in the fridge then add nuts before serving.
- What if someone has a nut allergy? You can skip the nuts entirely. Roll the cheese ball in bacon bits, herbs, crushed pretzels, or dried fruit instead. For a nut-free party spread, you could also set out a bowl of Fried Pickle Dip.
- How do I serve without a mess? Use a spreading knife and small dippers. Don’t plunge crackers straight in — that just breaks them and creates crumbs!

A creamy and tangy cheese ball made with sharp cheddar, cream cheese, green onions, Worcestershire sauce, and spices, rolled in chopped pecans. Perfect as a party appetizer, easy to make ahead, and customizable.
- Prep Time: 15 minutes
- Cook Time: 0 minutes
- Total Time: 15 minutes
- Yield: 24 bites 1x
- Category: Appetizer
Ingredients
- 16 ounces cream cheese, softened to room temperature
- 2 cups freshly grated sharp cheddar cheese (skip pre-shredded for best flavor)
- 2 green onions, finely chopped
- 1 teaspoon Worcestershire sauce
- 1 teaspoon hot pepper sauce
- 1 teaspoon dried parsley flakes
- 1/2 teaspoon garlic powder
- 1/2 teaspoon dried oregano
- dash freshly ground black pepper
- 2/3 cup pecans, finely chopped
Instructions
- Soften the cream cheese to room temperature.
- Grate sharp cheddar from a block.
- Finely chop the green onions.
- Finely chop the pecans.
- Place the softened cream cheese in a mixing bowl and beat until smooth and creamy.
- Add grated cheddar, chopped green onions, Worcestershire sauce, hot pepper sauce, dried parsley flakes, garlic powder, dried oregano, and a dash of freshly ground black pepper; mix until well combined.
- If the mixture is too soft, add more grated cheddar or chill briefly until firm enough to shape.
- Scrape down the sides of the bowl with a rubber spatula, lightly grease your hands with non-stick spray or oil, and shape the mixture into a round ball.
- Pour the chopped pecans onto a plate and press them onto the outside of the cheese ball, turning to coat evenly.
- Wrap the cheese ball tightly in plastic wrap and refrigerate for at least 1 hour to firm up.
- Remove the cheese ball from the fridge about 20 minutes before serving to soften slightly for spreading.
Notes
Always grate your own cheddar from a block for better flavor and texture., Soften cream cheese to room temperature to blend smoothly without lumps., Lightly oil or spray hands when forming the ball to prevent sticking., Chop nuts finely so they cling well and make spreading easier., Chill the cheese ball at least 1 hour to firm up; take out 20 minutes before serving to soften., Serve with a cheese spreading knife; avoid plunging crackers in to prevent breakage and crumbs., Add more grated cheese or chill if mixture is too soft; let sit at room temperature if too firm before serving., Flavor variations include swapping nuts, cheese types, coatings, or adding extras like jalapeños or sun-dried tomatoes., Make ahead by forming the ball and refrigerating (without nuts) up to a week; add nuts before serving., Freeze uncoated cheese ball for up to one month; thaw overnight in fridge, then add nuts before serving., For nut allergies, skip nuts and roll in bacon bits, herbs, crushed pretzels, or dried fruit.
Nutrition
- Serving Size: 1 bite
- Calories: Approximately 80 calories per bite (estimated)
- Fat: Approximately 7 grams per bite (estimated)
- Carbohydrates: Approximately 1 gram per bite (estimated)
- Protein: Approximately 2 grams per bite (estimated)
More in Everyday Meals
Page not found | Mommy Made That

Cream Cheese Fruit Dip – Easy 4-Ingredient Recipe