Pumpkin Pie Recipe

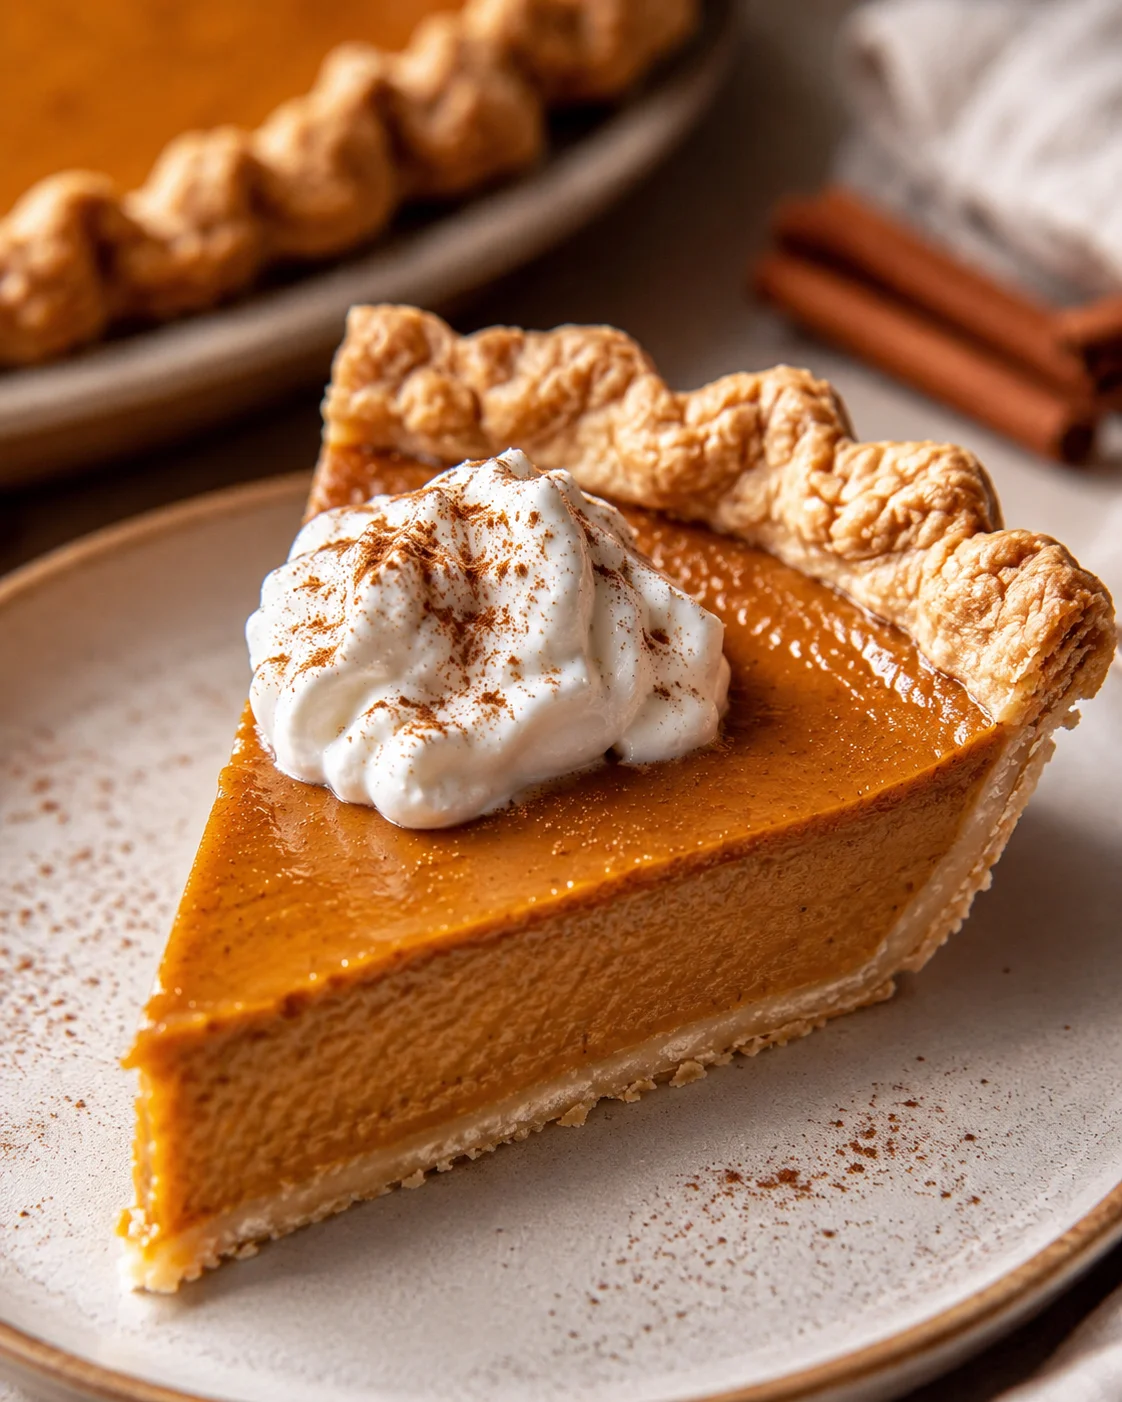
This pumpkin pie recipe is hands down the best pumpkin pie you’ll ever make! It’s quick, easy, and comes together with a homemade flaky pie crust and cozy fall spices that fill your kitchen with warmth. This classic dessert is a must-have for Thanksgiving, holiday dinners, or whenever you need a slice of comforting autumn goodness.
I first shared this recipe back in November 2015, and I’m so happy to update it here in October 2024 with fresh photos, tips to help you nail it every time, and a step-by-step video to guide you through the process.
There’s something so special about a slice of homemade pumpkin pie that feels like a warm hug in every bite. This pumpkin pie recipe has been my go-to for years and has become a favorite among readers too. Many have told me it’s the best pumpkin pie they’ve ever tasted — and I’m certain you’ll love it just as much as we do.
After trying countless pumpkin pie recipes, I learned that making the best pumpkin pie doesn’t have to be complicated or take all day. All you really need is to whisk a few ingredients together for the filling, pour it into your crust, and bake. That’s it! This pumpkin pie recipe is foolproof and perfect for bakers of any skill level, especially if you want a no-stress, delicious dessert.
We start with my easy homemade all-butter pie crust, but don’t worry if you’re short on time — a good store-bought crust works beautifully, too. The filling is creamy and rich with fall spices like cinnamon, nutmeg, and cloves that give it that perfect pumpkin pie flavor. And the best part? You can have this pie ready to pop in the oven in just about 30 minutes.
The absolute best pumpkin pie. I always get compliments when I use this recipe.
Why This Recipe Works
This pumpkin pie stands out because it’s simple, dependable, and uses ingredients you probably already have on hand — no fancy techniques or stress-filled steps necessary. You get a smooth, creamy filling with cozy spices sitting atop a flaky, buttery crust that’s perfect for any fall occasion or holiday feast.
- Quick to put together: the filling whisks up in minutes, and you can have the pie in the oven in about half an hour.
- Great for beginners: easy step-by-step directions plus the option to start with a store-bought crust means it’s beginner-friendly.
- Perfect pie texture: eggs and cornstarch help the filling set just right without overcooking, while chilling overnight makes slicing a breeze and deepens the flavors.
- Flexible ingredients: works with canned pumpkin or your own homemade puree (just drain it well!), and the pie freezes beautifully for make-ahead convenience.
- Spice it your way: use individual spices or swap in a tablespoon of pumpkin pie spice for a quick shortcut without losing flavor.
If you’re asking whether this is the pumpkin pie recipe you want on your holiday table—absolutely yes! It’s straightforward to make and delivers that comforting, iconic pumpkin pie taste with zero hassles. Here’s why it keeps folks coming back:
- Speedy and simple assembly. Mix the filling in just minutes and slide the pie into the oven fast — no long prep needed.
- Totally approachable for newbies. No tricky techniques or fuss required, so even if you’re new to pie baking, you’ll end up with a flaky crust (or easy store-bought crust) and a velvety filling just like the pros.
- Consistency is key. Thanks to eggs and a little cornstarch, the filling sets perfectly and stays silky smooth, with just a slight jiggle when done.
- Rich flavor and creamy texture. Heavy cream and whole milk make for a luxuriously creamy filling, while the classic spice combo gives that warm pumpkin pie kick. And you can always swap in pumpkin pie spice for convenience.
- Adaptable to your needs. Whether you use canned or fresh pumpkin, want a dairy-free version, or plan mini pies for a crowd, this recipe bends to fit your kitchen and tastes. If you’re serving a larger group and want straightforward slices, pumpkin bars with cream cheese frosting are a great alternative.
- Prep ahead and freeze-friendly. This pie tastes better after resting in the fridge overnight, stores up to 3 days chilled, and freezes really well for up to 3 months — perfect for holiday planning!
- Easy fixes for imperfections. A crack or browned edges aren’t a big deal — cover them up with whipped cream or cute pie crust shapes to impress your guests.
- A crowd-pleaser every time. Readers rave about how classic and comforting this pie is, making it a Thanksgiving staple and a solid fall favorite.
Ingredients You’ll Need
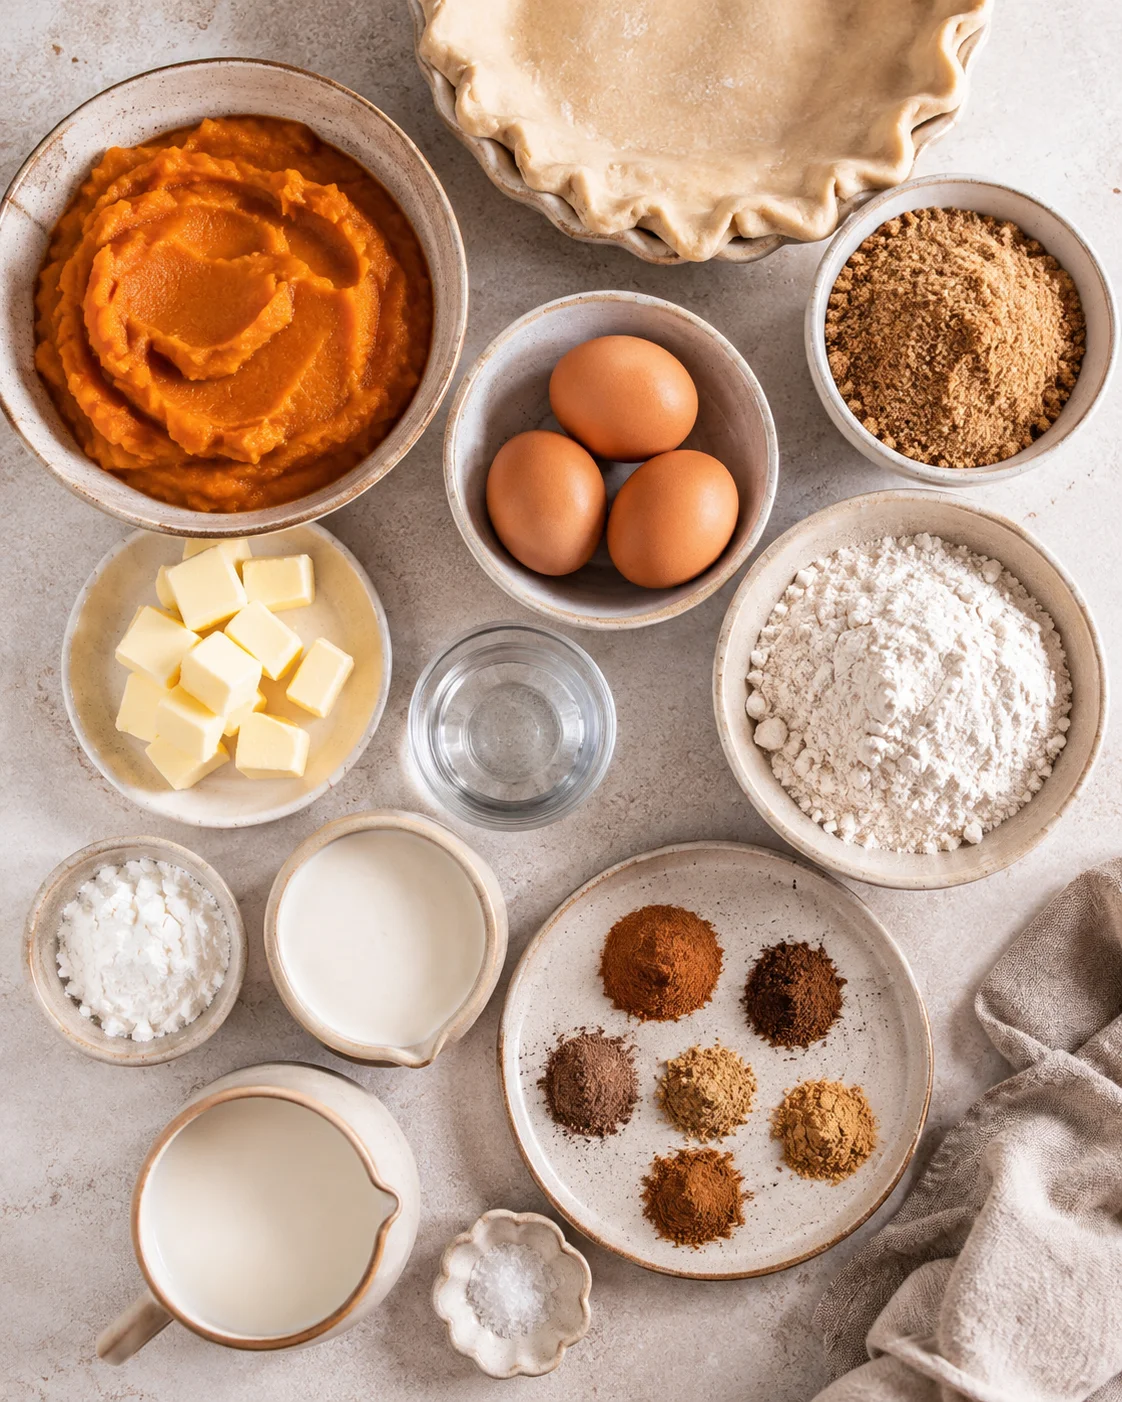
- 1 ¼ cups all-purpose flour
- 2 teaspoons granulated sugar
- ¼ teaspoon salt
- 8 tablespoons (1 stick) cold, unsalted butter, cut into cubes
- 4 tablespoons ice-cold water
- 15 ounce can pure pumpkin puree (1 ¾ cups), not pumpkin pie filling, or use homemade pumpkin puree
- 3 large eggs
- ¾ cup packed light brown sugar
- ¾ cup heavy cream
- ½ cup whole milk
- 1 tablespoon cornstarch
- 1 ½ teaspoons ground cinnamon
- ½ teaspoon ground ginger
- ¼ teaspoon ground cloves
- ¼ teaspoon allspice
- ¼ teaspoon ground nutmeg
- ¼ teaspoon salt
Step-by-Step Baking Instructions
- Place flour, sugar, and salt in a food processor and pulse to combine (or use a large bowl and pastry cutter if working by hand).
- Add cold butter cubes and pulse until the largest butter pieces are about pea-sized (about 8 quick pulses).
- Drizzle in ice-cold water and pulse just until the dough starts to hold together, adding more water 1 teaspoon at a time if needed.
- Turn the dough out onto a floured surface, shape into a disk, and roll into a 12-inch circle.
- Transfer the dough to a 9-inch deep-dish pie plate by wrapping around the rolling pin, trim the edges, tuck them under, and crimp or flute the edges; chill the crust in the fridge while you make the filling.
- Preheat the oven to 375°F.
- In a large bowl whisk together the pumpkin puree, eggs, brown sugar, heavy cream, and whole milk until smooth.
- Add the cornstarch, cinnamon, ginger, cloves, allspice, nutmeg, and salt; whisk until fully combined and no lumps remain.
- Pour the filling into the unbaked pie crust.
-
Bake at 375°F for 40–55 minutes, loosely covering the crust with foil or pie shields about halfway through to prevent over-browning; the pie is done when the edges are set and the center still jiggles slightly.
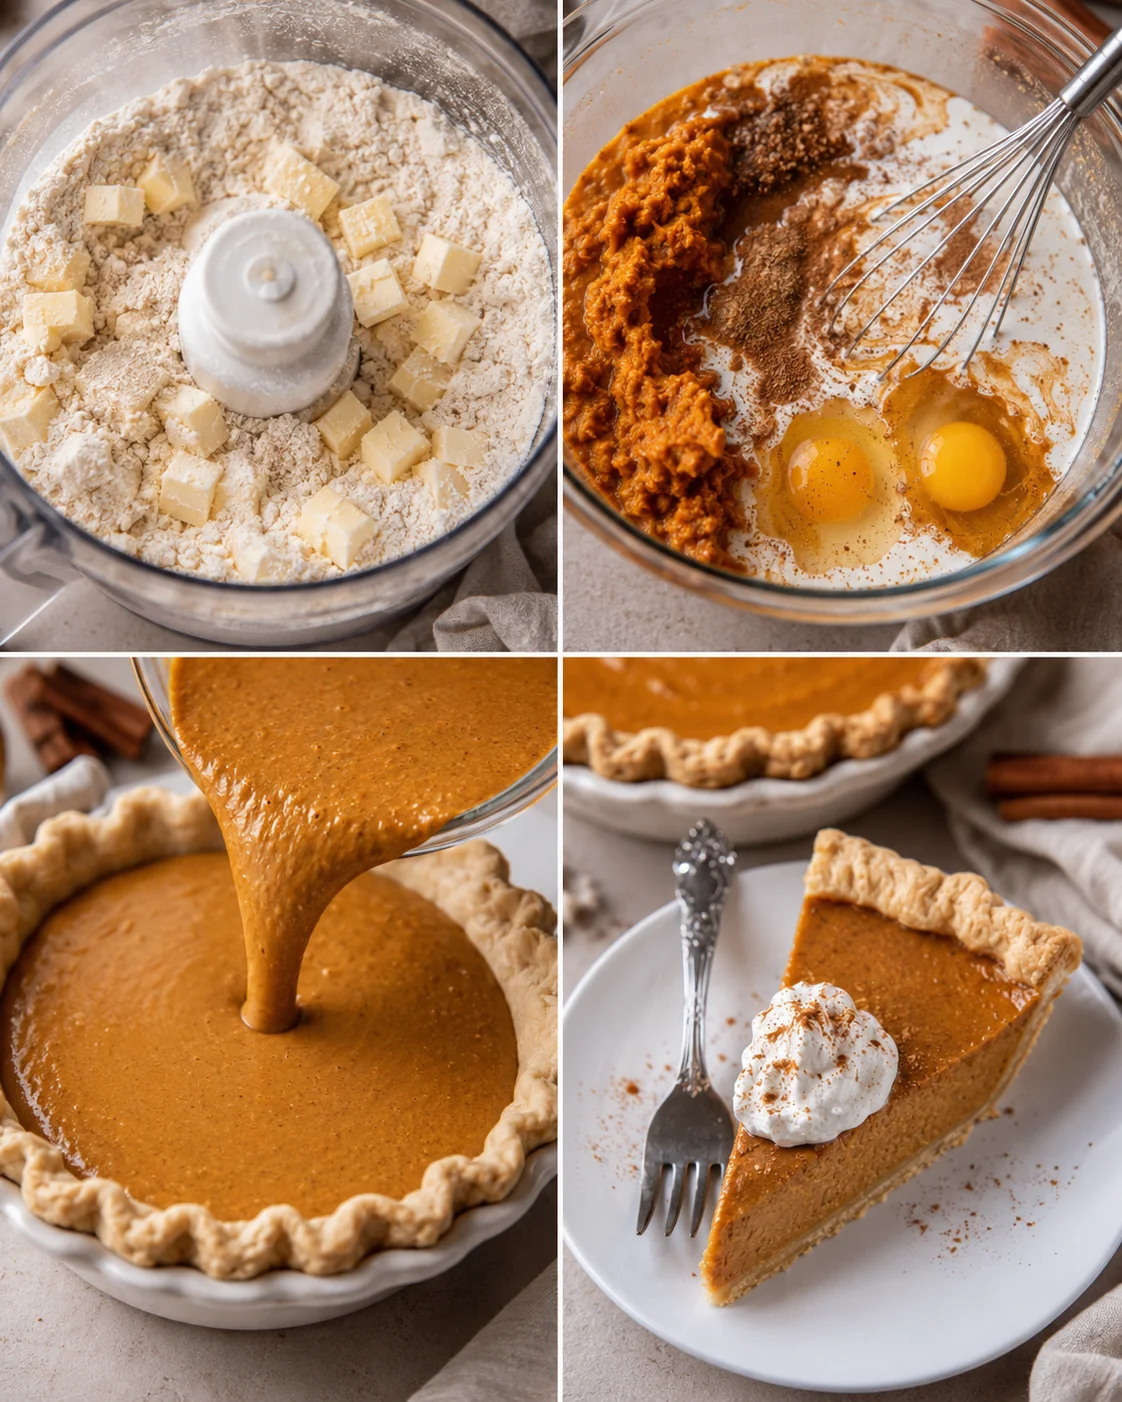
- Cool the pie on a wire rack for 3 hours, then chill in the refrigerator for several hours or overnight before serving.
Top Tips for a Flawless Pie
- Don’t overbake your pumpkin pie. When it bakes too long, cracks can appear. Take the pie out while the center still wiggles a little—it’ll firm up as it cools.
- Cool at room temperature for 3 hours before chilling. This step helps the filling set properly and keeps your pie’s texture perfect.
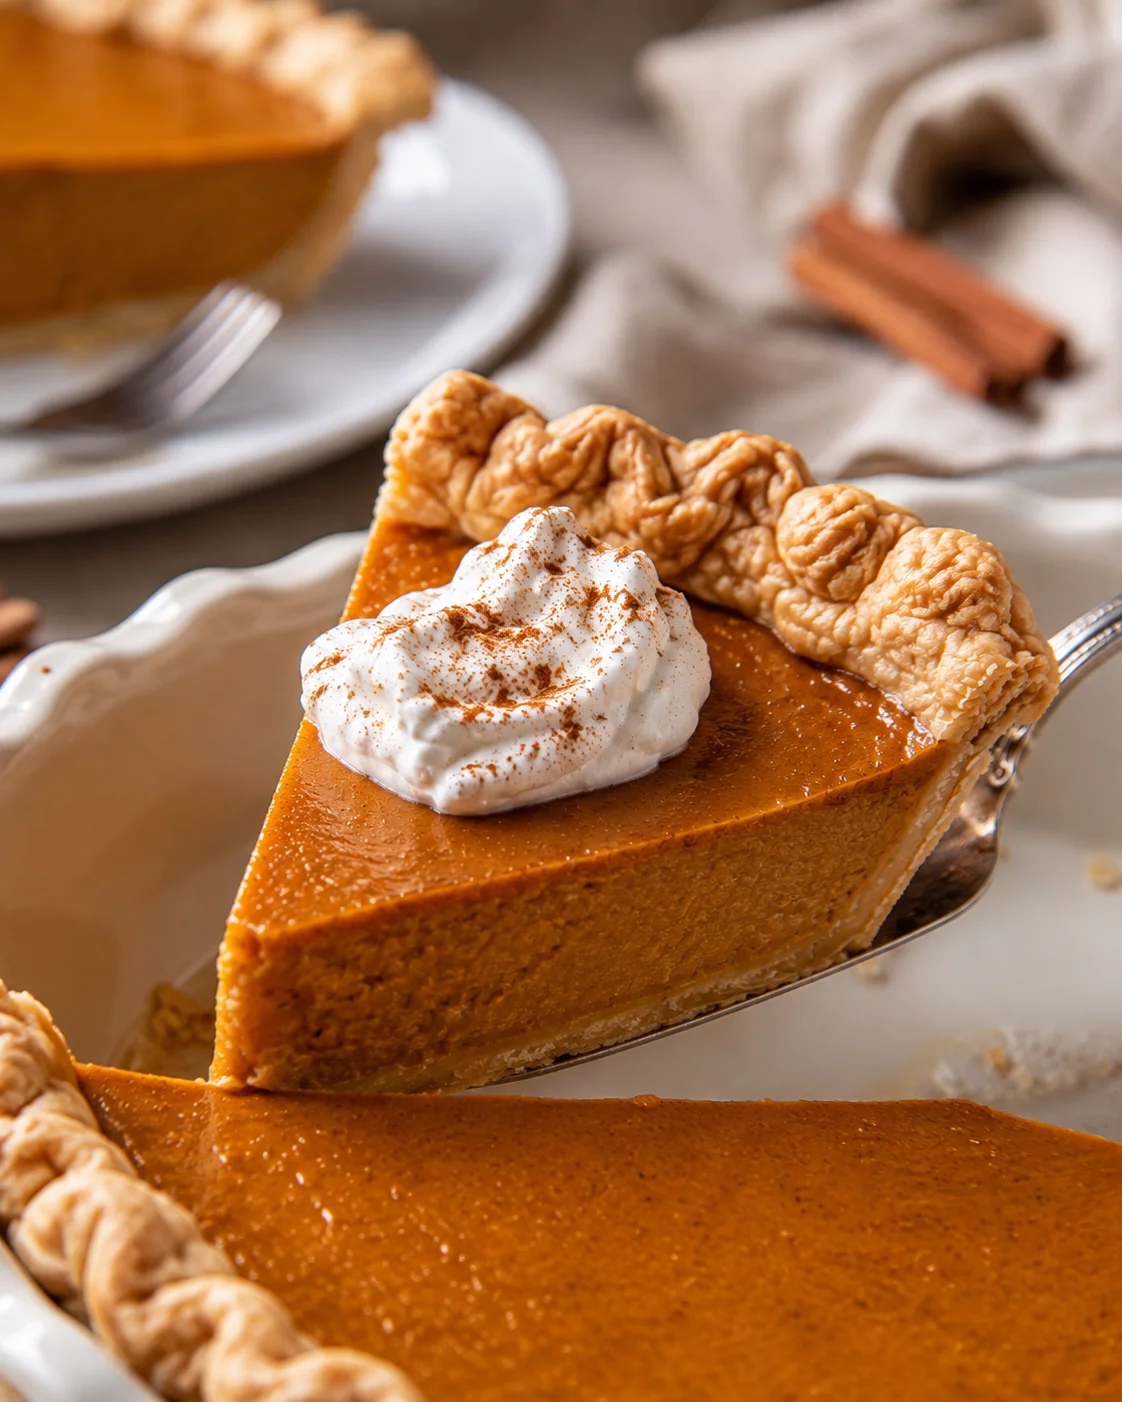
- Got a crack? No worries! Nobody wants to see cracks, but your pie will taste just as amazing. Cover cracks with whipped cream or cute pie crust cutouts (think leaves or hearts). Just roll out some extra dough, cut shapes, bake for 8–10 minutes at 350°F until golden, and add on top!
Swap-ins and Flavor Twists
- Use pumpkin pie spice for a quick shortcut: swap 1 tablespoon of pumpkin pie spice for the individual spices and still add the salt.
- Fresh pumpkin puree: If using homemade, drain it in a cheesecloth-lined strainer for 1-2 hours so it’s not watery.
- Crust swaps: Try store-bought crust for convenience, graham cracker or gingersnap crusts for a fun twist, or gluten-free crusts if needed.
- Lighter filling: Substitute part or all of the heavy cream with whole milk or half-and-half to reduce richness.
- Dairy-free option: Use full-fat canned coconut milk in place of cream and milk — the texture will be a little different but the flavor is still delicious!
- Add-ins and toppings: Stir a tablespoon of bourbon or dark rum into the filling for extra depth, or top the baked pie with lightly sweetened whipped cream, toasted pecans, or a drizzle of caramel sauce for something special.
- Size and format: Make mini pies or tartlets using the same filling, just adjusting the baking time — great for parties!
- Extra crispy bottom crust: Par-bake your crust before adding filling to get that flaky, crunchy bottom layer.
Storage, Freezing, and Make-Ahead
I always make this pumpkin pie the day before serving. Chilling it overnight helps the flavors marry and the texture become perfect. If you’re planning a make-ahead holiday spread, my Pumpkin Cinnamon Rolls (make right now or prep ahead) are a great addition.
- To store: Keep leftover baked pumpkin pie wrapped tightly in plastic in the fridge for up to 3 days.
- To freeze: Cool pie completely, wrap it well, and freeze for up to 3 months. Thaw in the fridge about 24 hours before serving.
- Pie dough: You can freeze the raw pie crust dough for up to 3 months, tightly wrapped, letting you prep ahead.
Email me this recipe!
Drop your email below and I’ll send the full pumpkin pie recipe right to your inbox — plus, you can enjoy more recipes and weekly meal plans to make dinner simple!
Common Questions Answered
I’ve tried making this pie with both canned pumpkin puree and fresh homemade pumpkin puree. Honestly, I find canned pumpkin easier and more consistent. Fresh pumpkin has more water in it, so if you go fresh, be sure to drain some of the moisture by straining it in a cheesecloth-lined colander in the fridge for 1 to 2 hours.
I also tested baking the pie with and without par-baking the crust. Par-baking gives a noticeably crispier bottom, but it’s more work. Most of the time, I skip par-baking because the pie is still delicious without it and much easier to make. If you really want that extra crunch, I’ve included par-baking instructions in the notes above.
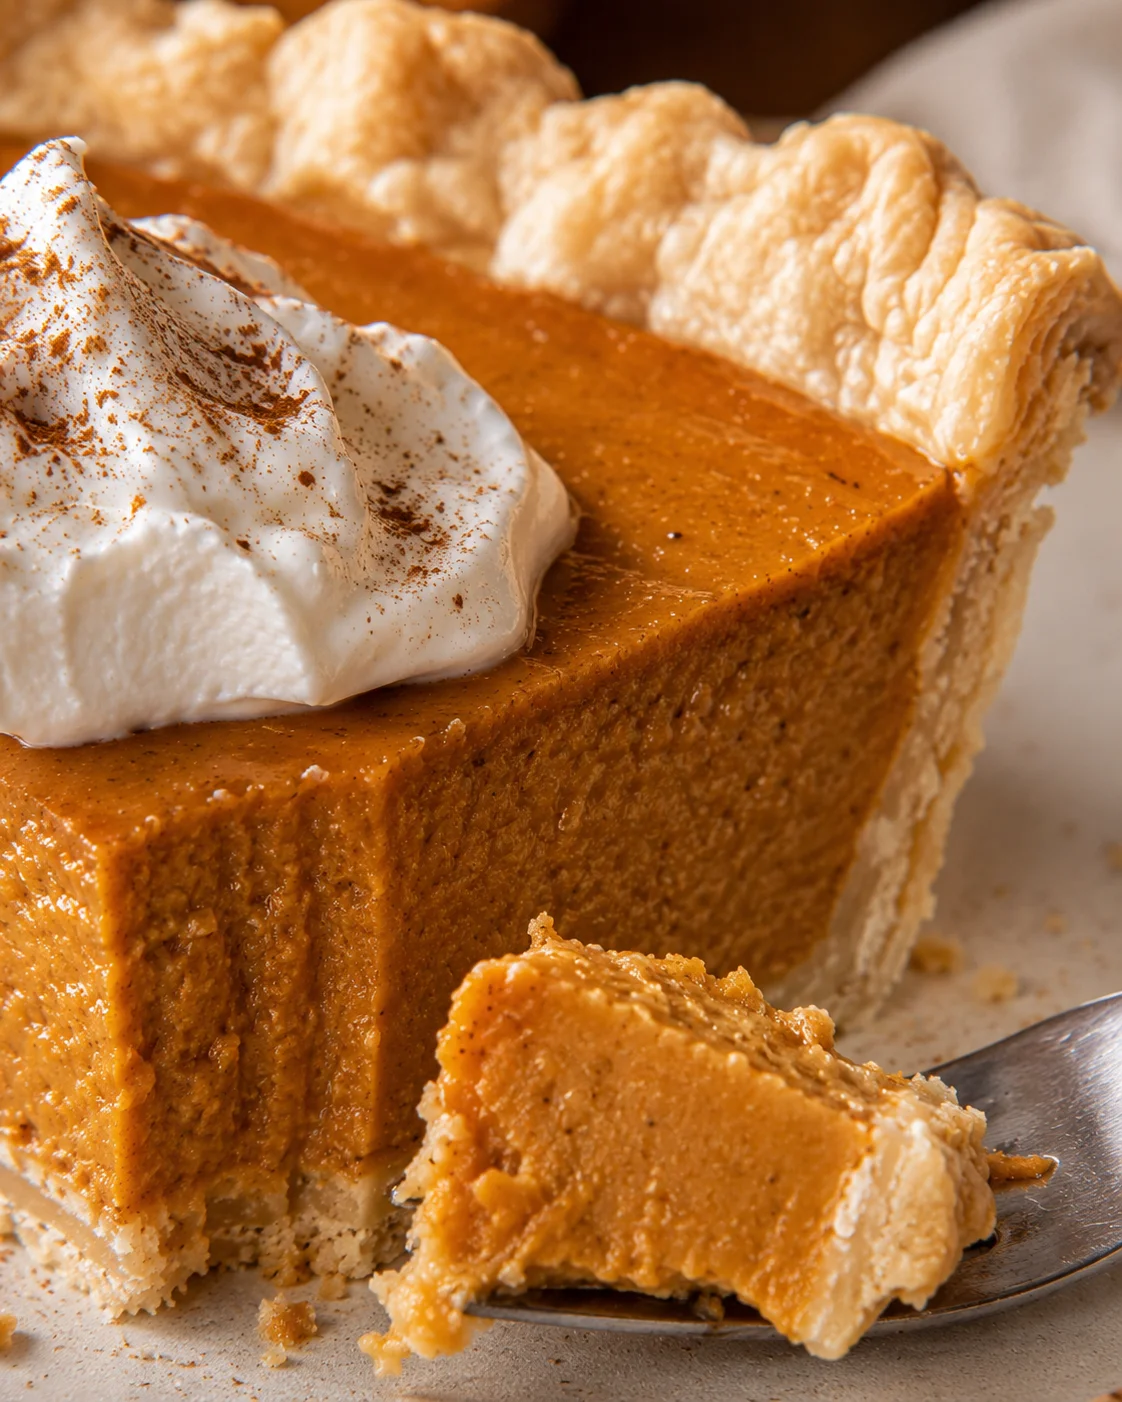
A quick and easy pumpkin pie with a flaky homemade crust and creamy filling spiced with traditional autumn spices. Perfect for Thanksgiving or any cozy fall occasion.
- Prep Time: 20 minutes
- Cook Time: 40-55 minutes
- Total Time: 4 hours 15 minutes (including cooling and chilling)
- Yield: 8 servings 1x
- Category: Dessert
- Cuisine: American
Ingredients
- 1 ¼ cups all-purpose flour
- 2 teaspoons granulated sugar
- ¼ teaspoon salt
- 8 tablespoons (1 stick) cold, unsalted butter, cut into cubes
- 4 tablespoons ice-cold water
- 15 ounce can pure pumpkin puree (1 ¾ cups), not pumpkin pie filling, or homemade pumpkin puree, drained if fresh
- 3 large eggs
- ¾ cup packed light brown sugar
- ¾ cup heavy cream
- ½ cup whole milk
- 1 tablespoon cornstarch
- 1 ½ teaspoons ground cinnamon
- ½ teaspoon ground ginger
- ¼ teaspoon ground cloves
- ¼ teaspoon allspice
- ¼ teaspoon ground nutmeg
- ¼ teaspoon salt
Instructions
- Place flour, sugar, and salt in a food processor and pulse to combine, or combine in a large bowl using a pastry cutter if working by hand.
- Add cold butter cubes and pulse until the largest butter pieces are about pea-sized (about 8 quick pulses).
- Drizzle in ice-cold water and pulse just until the dough starts to hold together, adding more water 1 teaspoon at a time if needed.
- Turn the dough out onto a floured surface, shape into a disk, and roll into a 12-inch circle.
- Transfer the dough to a 9-inch deep-dish pie plate by wrapping around the rolling pin, trim the edges, tuck them under, and crimp or flute the edges; chill the crust in the fridge while you make the filling.
- Preheat the oven to 375°F (190°C).
- In a large bowl whisk together pumpkin puree, eggs, brown sugar, heavy cream, and whole milk until smooth.
- Add cornstarch, cinnamon, ginger, cloves, allspice, nutmeg, and salt; whisk until fully combined and no lumps remain.
- Pour the filling into the unbaked pie crust.
- Bake at 375°F for 40 to 55 minutes, loosely covering the crust with foil or pie shields about halfway through to prevent over-browning; the pie is done when the edges are set and the center still jiggles slightly.
- Cool the pie on a wire rack for 3 hours, then chill in the refrigerator for several hours or overnight before serving.
Notes
Do not overbake; remove when center still jitters slightly to avoid cracks., Cool at room temperature for 3 hours before refrigerating to help the filling set properly., Cover any cracks with whipped cream or decorative pie crust cutouts if desired., Use pumpkin pie spice as a shortcut by substituting 1 tablespoon for the individual spices plus salt., Fresh homemade pumpkin puree should be drained of excess moisture for best results., The pie can be frozen for up to 3 months; thaw in the fridge 24 hours before serving., Par-baking the crust can be done for a crispier bottom crust but is optional.
Nutrition
- Serving Size: 1 slice
- Calories: Approximately 320 calories per serving
- Fat: 15 g per serving
- Carbohydrates: 42 g per serving
- Protein: 5 g per serving
More in Pies