Best Apple Pie

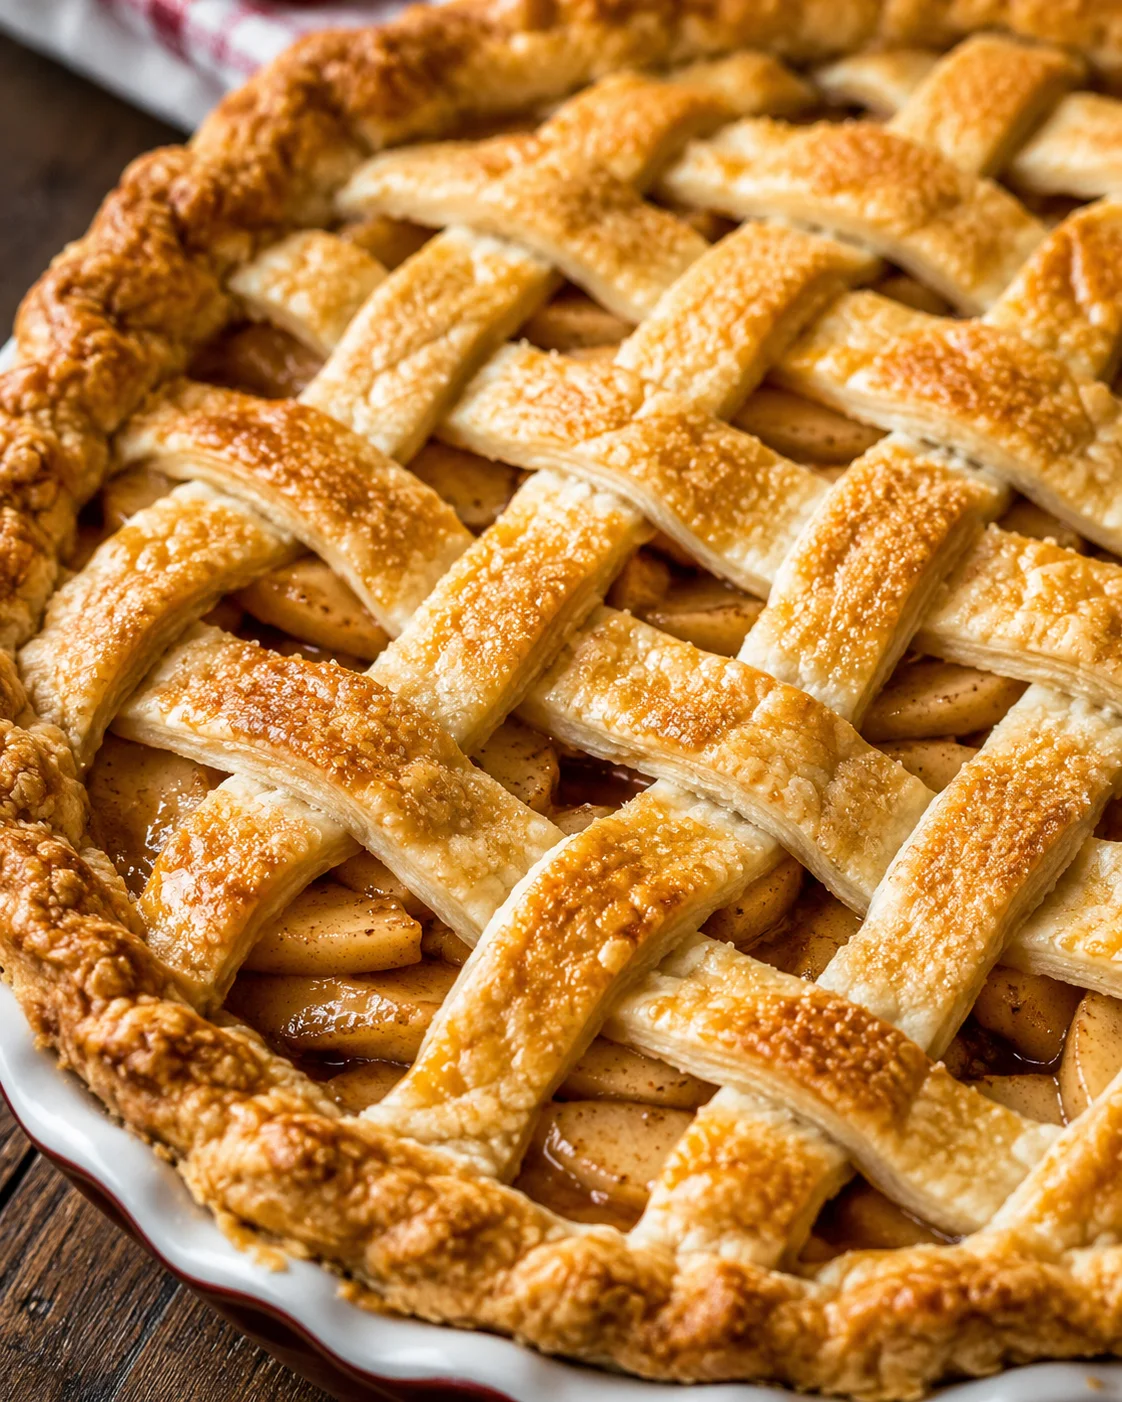
I used to think apple pie was just okay—usually mushy, often flavorless. But that changed when I discovered the perfect apple pie recipe that delivers a double crust you’ll love, a filling that’s cooked just right for texture and taste, and an easy process anyone can follow. This classic apple pie recipe is totally doable from scratch, and I’ll guide you every step of the way! Originally published on November 16, 2011.
We grabbed a big bag of apples, and I had such a good time testing different recipes to find my favorite. Honestly, apple pie wasn’t my go-to dessert — too many times it turns out mushy or undercooked, or the spices don’t land right. Usually, I prefer pies with custard or crumb topping like Dutch Apple Pie or Apple Custard Pie with Cinnamon Streusel. But I wanted to give a double crust apple pie recipe a real chance, so I dove into experimenting.
If you’ve been underwhelmed by apple pie like I was, this apple pie recipe might change your mind. Think tall, packed with apple flavor, perfectly tender apples that keep their shape, and a flaky buttery double crust that’s easy to master. This pie gets around the usual pitfalls by cooking the filling first, using plenty of apples, and breaking down the process into simple, approachable steps.
Here’s the scoop on what you’ll be doing:
- Choosing and combining apples (we pack in 5 pounds to keep the pie full and bursting with fruit flavor).
- How to slice and gently cook the filling on the stove for the perfect balance between tender and firm apples.
- Putting together a double crust pie with options for lattice or full top crust, plus my secrets to a flaky crust that won’t burn around the edges.
- Timing tips and make-ahead ideas: a quick 20-minute stovetop filling cook, a “hot start” bake method, and the vital 2–4 hour cooling so the filling sets beautifully.
- Variations on the spices and mix-ins, storage hacks, and answers to common apple pie questions, so you’ll never feel stuck.
Keep scrolling for the full recipe card, step-by-step photos, and my insider tips. I’ll show you how to peel, slice, cook, cool, assemble, and bake your way to the best homemade apple pie you’ll ever make (or eat!).
Why This Version Stands Out
This apple pie recipe tackles all the common problems and delivers amazing results every time:
- Cooked filling — gently cooking the apples first means they stay tender but never turn mushy. You decide your perfect apple texture, and this recipe helps you nail it consistently.
- Loads of apples — using 5 pounds of apples fills the pie tall and full, making sure apple flavor stars front and center — no hiding behind sugar or crust.
- Double crust + flaky crust technique — a homemade, butter-rich double pie crust bakes golden and crisp, balancing the tender filling perfectly.
- Simple, forgiving process — straightforward steps (slice, cook, cool, fill, bake) let you customize how you want your pie, whether firmer or softer apples.
- Make-ahead & freezer-friendly — you can freeze the filling or an unbaked pie, which makes this recipe super handy for planning ahead or sharing with friends.
- Customizable spices — cinnamon is front and center (Cinnamon Apple Bread is a great example of that cozy flavor), with optional cardamom and vanilla to add a little unexpected warmth and depth.
Ingredients and Best Apple Picks
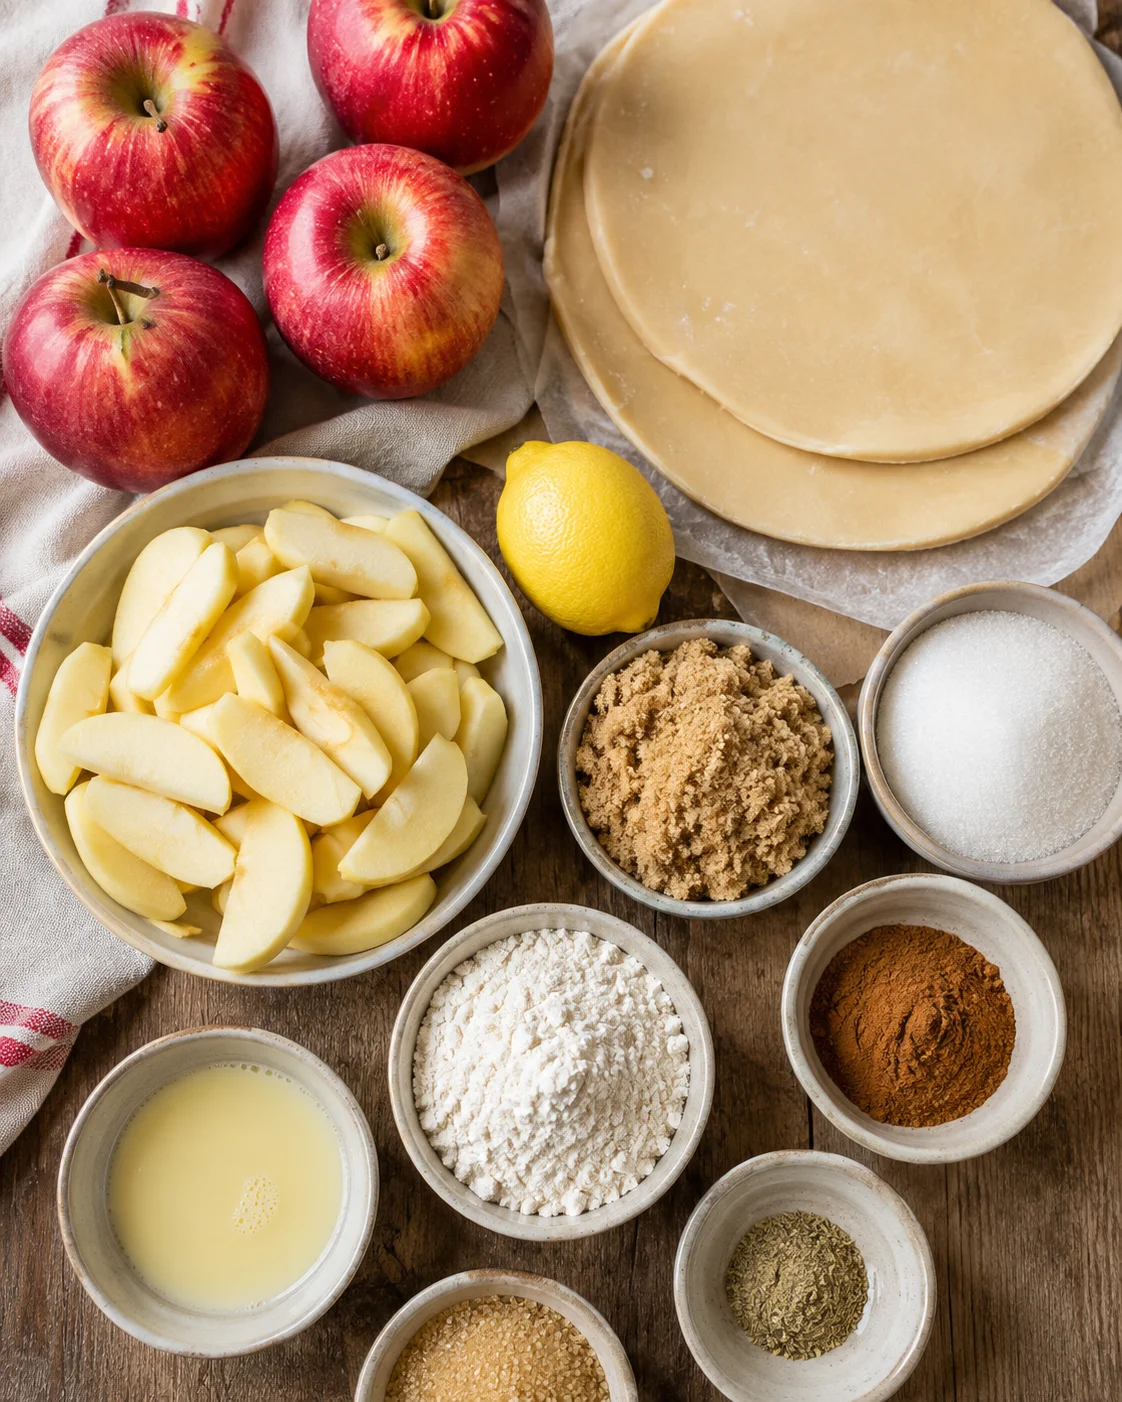
- 1 homemade double pie crust, 2 sheets of pie dough
- 1/4 teaspoon lemon zest
- Juice from half a lemon, 2 tablespoons
- 5 pounds apples, 5 pounds before peeling and coring*
- 3/4 cup brown sugar, packed
- 3/4 cup granulated sugar
- 5 tablespoons all-purpose flour
- 1/4 teaspoon kosher salt
- 1 & 1/2 teaspoons cinnamon
- 3/4 teaspoon nutmeg
- 1/2 teaspoon cardamom, optional
- 1 teaspoon vanilla
- 1 tablespoon milk, for brushing on pie
- 1 tablespoon beaten egg, optional, for brushing on pie
- 1 tablespoon raw sugar, for topping pie
Assembling, Filling, and Baking
- Gather about 5 pounds of apples (roughly 11 large) and mix varieties as desired.
- Use a microplane to zest 1/4 teaspoon lemon peel into a large 12-inch, high-sided skillet.
- Add juice from half a lemon (about 2 tablespoons) to the skillet.
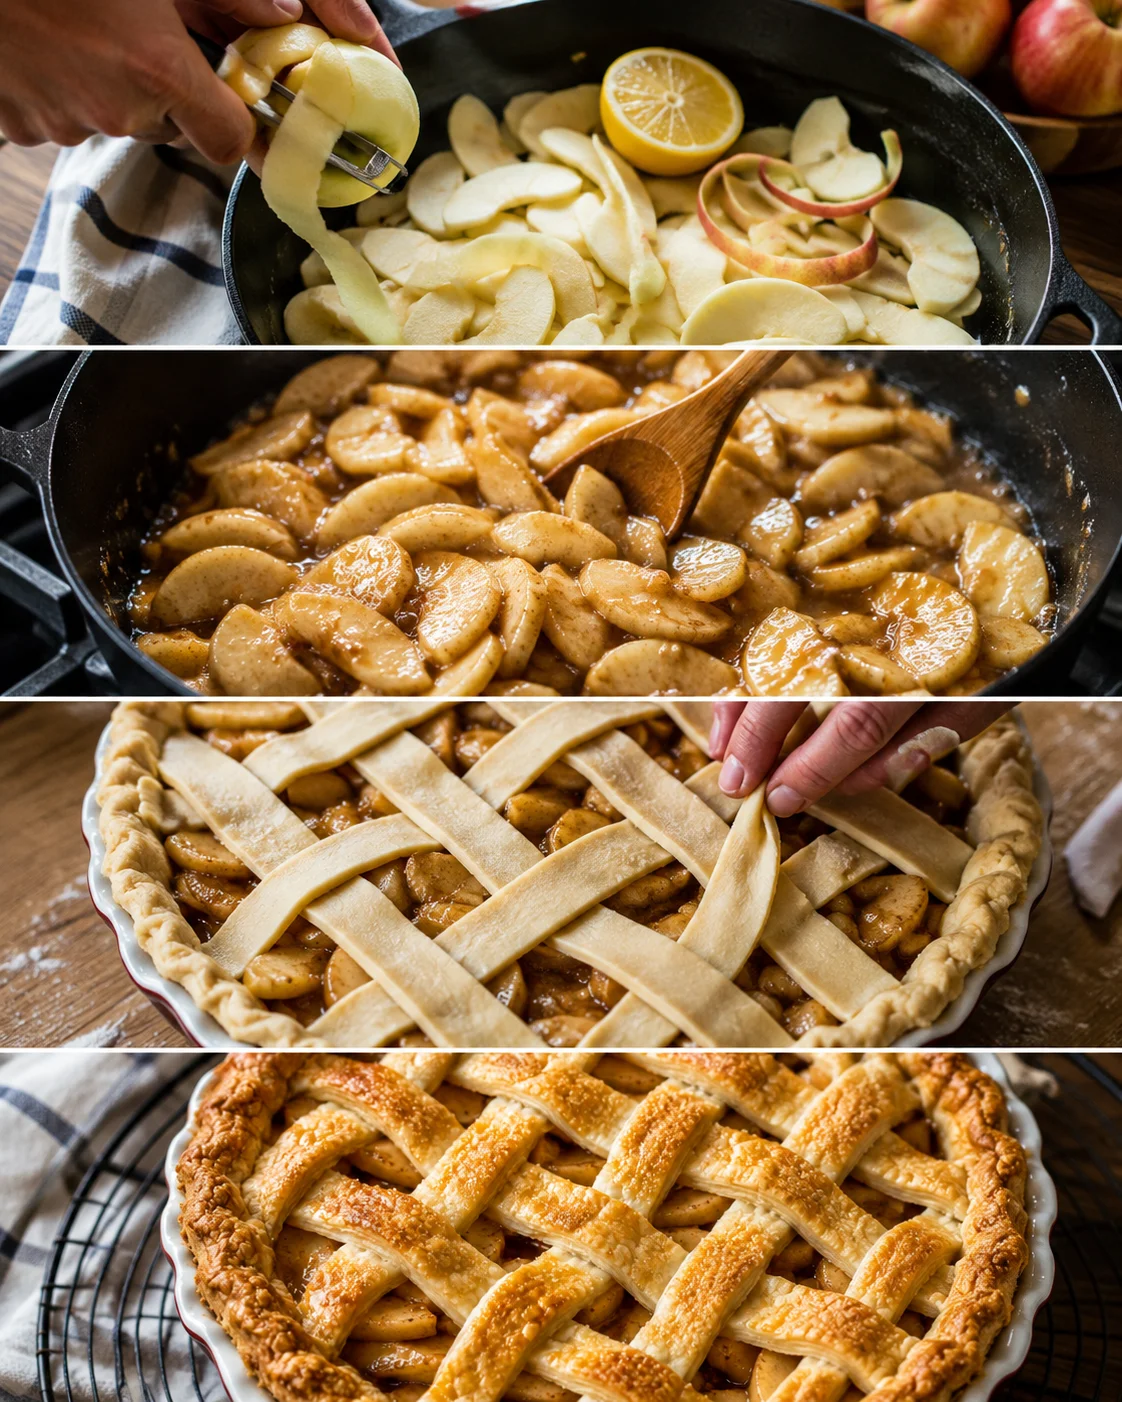
- Peel apples with a potato peeler (or apple peeler), core them, and slice thinly about 1/8 inch thick.
- Toss each batch of sliced apples into the skillet with the lemon juice and stir to coat to prevent browning.
- When all apples are peeled and sliced in the skillet, place the skillet over medium heat.
- Add 3/4 cup packed brown sugar, 3/4 cup granulated sugar, 5 tablespoons flour, 1/4 teaspoon kosher salt, 1 1/2 teaspoons cinnamon, 3/4 teaspoon nutmeg, and 1/2 teaspoon cardamom (optional) and gently stir to coat without breaking the apples.
-
After the mixture looks evenly moistened with no dry flour or cinnamon showing, cover the skillet and cook for 20 minutes, stirring every 3 minutes and replacing the lid each time until apples are fork-tender but hold their shape.
- If the apples start sticking, add up to 1 tablespoon water to loosen the pan.
- Remove the skillet from heat and stir in 1 teaspoon vanilla.
- Spread the filling, including all sauce, onto a rimmed baking sheet or pan and chill completely in the fridge or freezer (about 20–30 minutes) or cool in the skillet for a couple hours.
- Roll out one sheet of pie dough and place it in a deep 9-inch pie dish with extra hanging over the edges.
- Use a rubber spatula to scrape the chilled filling evenly into the prepared pie crust.
- Top with the second pie crust or create a lattice; if using a whole crust, poke vents to let steam escape.
- Tuck in and crimp the edges of the crust to seal.
- Chill the assembled pie in the fridge or freezer for 20–30 minutes to set the crust.
- Place a baking sheet on the center oven rack and preheat the oven to 425°F (220°C) for at least 20–25 minutes so the sheet is hot.
- Right before baking, brush the crust with 1 tablespoon milk mixed with 1 tablespoon beaten egg (or milk alone) and sprinkle raw sugar on top.
- Place the chilled pie onto the hot baking sheet and bake at 425°F for 15 minutes, until edges begin to brown lightly.
- Make a foil pie shield by folding a square of foil into quarters, cutting a circle in the center, then unfolding it to create an edge guard.
- Reduce the oven temperature to 350°F (175°C), remove the pie, loosely tent the edges with the foil shield, and return the pie to the oven.
- Bake at 350°F for 40–45 minutes more, until the crust is deeply golden and the filling bubbles.
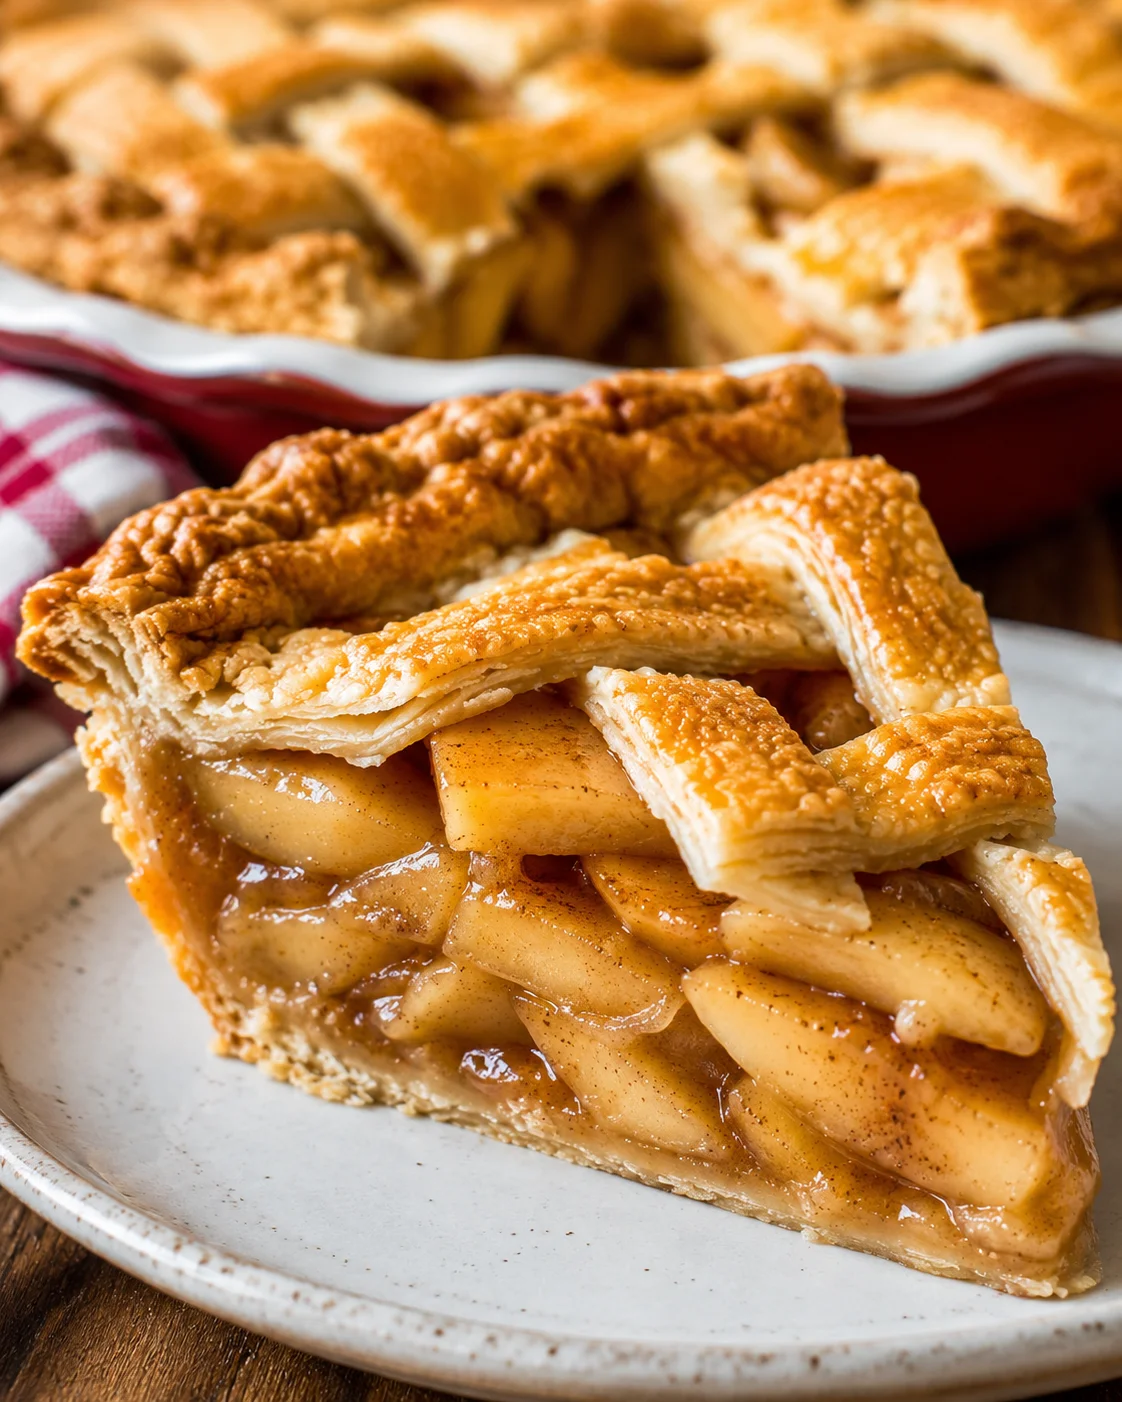
- Cool the pie on a wire rack for at least 4 hours to allow the filling to set before slicing.
Tips for Perfect Texture and Flavor
Here are my best tips to get a perfectly balanced, flavorful apple pie with texture that shines:
- Cook your filling first. Many recipes skip this step and bake raw apples, but I don’t love that. You risk underbaked apples and a watery, bland filling. It’s worth the extra 20 minutes on the stove for a pie you’ll never forget.
- Use citrus—lemon or lime. Besides stopping browning, the juice brightens the apple flavor and adds a subtle zip that freshens the whole pie.
- Make your pie crust from scratch. Filling deserves a crust that’s buttery and flaky to complement, not mask, apple flavor. Store-bought crusts are fine for some desserts, but a homemade crust makes all the difference here—especially if you’re aiming for a golden lattice crust.
- Try adding cardamom. This underrated spice adds a sophisticated warmth alongside cinnamon. It’s optional but highly recommended if you want to elevate your pie.
- Don’t add butter to your filling. I tested lots of recipes, and butter in the filling mutes the bright apple flavor. Save that richness for the crust.
How to keep pie crust from browning too fast?
The best way to protect those delicate edges is with a pie shield. You can buy metal or silicone shields, but a simple homemade foil shield works great and weighs less, so it won’t squish your crust.
Make your own by folding a square of foil into quarters, cutting out a circle in the center, then unfolding it. You get a lightweight guard to cover edges during baking and keep them from burning.
Easy Variations and Add-Ins
Want to switch things up while keeping the base method? Try these simple twists:
- Add a bit of dried cranberries or raisins to the cooled filling for extra sweetness and texture pops.
- Swap or add spices like ginger, allspice, or cloves for a warmer, more complex flavor.
- Use lime zest and juice instead of lemon for a fresh citrus twist (for more lime-forward inspiration, see Key Lime Bars).
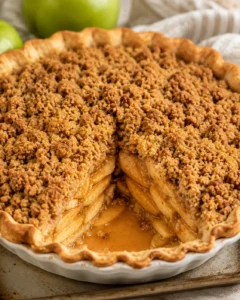
- Make a crumb topping instead of a second crust for a Dutch-style pie, or sprinkle toasted pecans on a lattice top for crunch.
- Use store-bought pie dough if you’re pressed for time, or make mini hand pies or a freeform galette with the apple filling.
- Serve warm with vanilla ice cream, drizzle with caramel sauce, or add a dollop of whipped cream for an indulgent finish. For another cozy caramel-apple dessert, try this Caramel Apple Cake.
- Freeze the cooled filling or flash freeze an unbaked pie to bake fresh later (see freezer tips below).
Storage, Make-Ahead, and Reheating
Does Apple Pie need to be refrigerated?
You don’t need to refrigerate it immediately! The sugar acts as a natural preservative. Keep your pie on the counter, covered with plastic wrap or a pie cover, for the first two days. After that, move it into the fridge where it will stay good for another 2-3 days.
How long does Apple Pie last?
Room temperature for up to 2 days is fine, then refrigerate to keep it fresh longer. Just know the crust will soften in the fridge, so warming slices before eating is a good idea. Apple pie is at its best fresh, so share it while it’s at its peak!
How to freeze Apple Pie filling
Cool your apple pie filling completely, then seal it in a gallon-size zip-top bag. Place the bag in the pie plate you’ll bake the pie in and freeze it flat. Once frozen, you can store it in the freezer space or cupboard. When ready, just roll out your crust and add the frozen filling. Bake from frozen by adding about 20 minutes to normal bake time. Don’t forget to tent with foil to prevent burning. Frozen pie filling also works perfectly in our Easy Apple Crisp Recipe if you’d rather skip the crust.
Can you freeze an Apple Pie?
Yes! Freeze an unbaked pie with the second crust on top but without brushing with egg or milk, and no sugar sprinkled yet. Flash freeze it for an hour, then wrap tightly in plastic wrap and foil. Store for up to 3 months.
When ready to bake, brush with egg/milk wash, sprinkle sugar, and bake straight from frozen, adding 20 minutes to baking time. Be sure to cover the edges toward the end so they don’t overbrown.
Answers to Common Questions
How many apples for apple pie?
It’s more about weight than number. This apple pie recipe calls for 5 pounds of apples. If you don’t have a scale, roughly 3 medium apples weigh a pound, so you’ll need around 15 medium apples. For smaller or larger apples, adjust accordingly.
How do you bake an apple pie so the bottom crust is not soggy?
The trick is a full preheated oven and chilled crust going in. Make sure the crust is cold when you bake and bake for the full time, tenting the top if it starts browning too quickly to allow the bottom to catch up.
What’s the trick to a great apple pie?
No magic — just a few key steps:
– Use a mix of apple varieties for depth of flavor.
– Add citrus juice (lemon or lime) to brighten the filling.
– Skip butter in the filling to keep apple flavor pure.
– Cook the filling before assembling — it’s the same pre-cook method I use for homemade cherry pie filling.
– Bake in a homemade, buttery, flaky crust.
Is it OK not to peel apples for apple pie?
I say no. Peels can cause uneven cooking and an off-putting texture. You might save time skipping peeling, but you’ll regret it. Trust me—peeling makes a smoother, more classic apple pie texture.
Should you cook apples before making apple pie?
Yes! Cooking apples before assembling helps evaporate excess water and concentrates the flavor. It also lets you control apple texture perfectly, making sure you don’t end up with mushy or crunchy surprises.
And that’s it! You now have everything you need to master an epic apple pie recipe. Don’t forget to peek at my Dutch Apple Pie recipe too — same filling method plus irresistible streusel topping. For another fruit pie to try, my Peach Mango Pie has a flaky lattice and juicy filling. Happy baking!
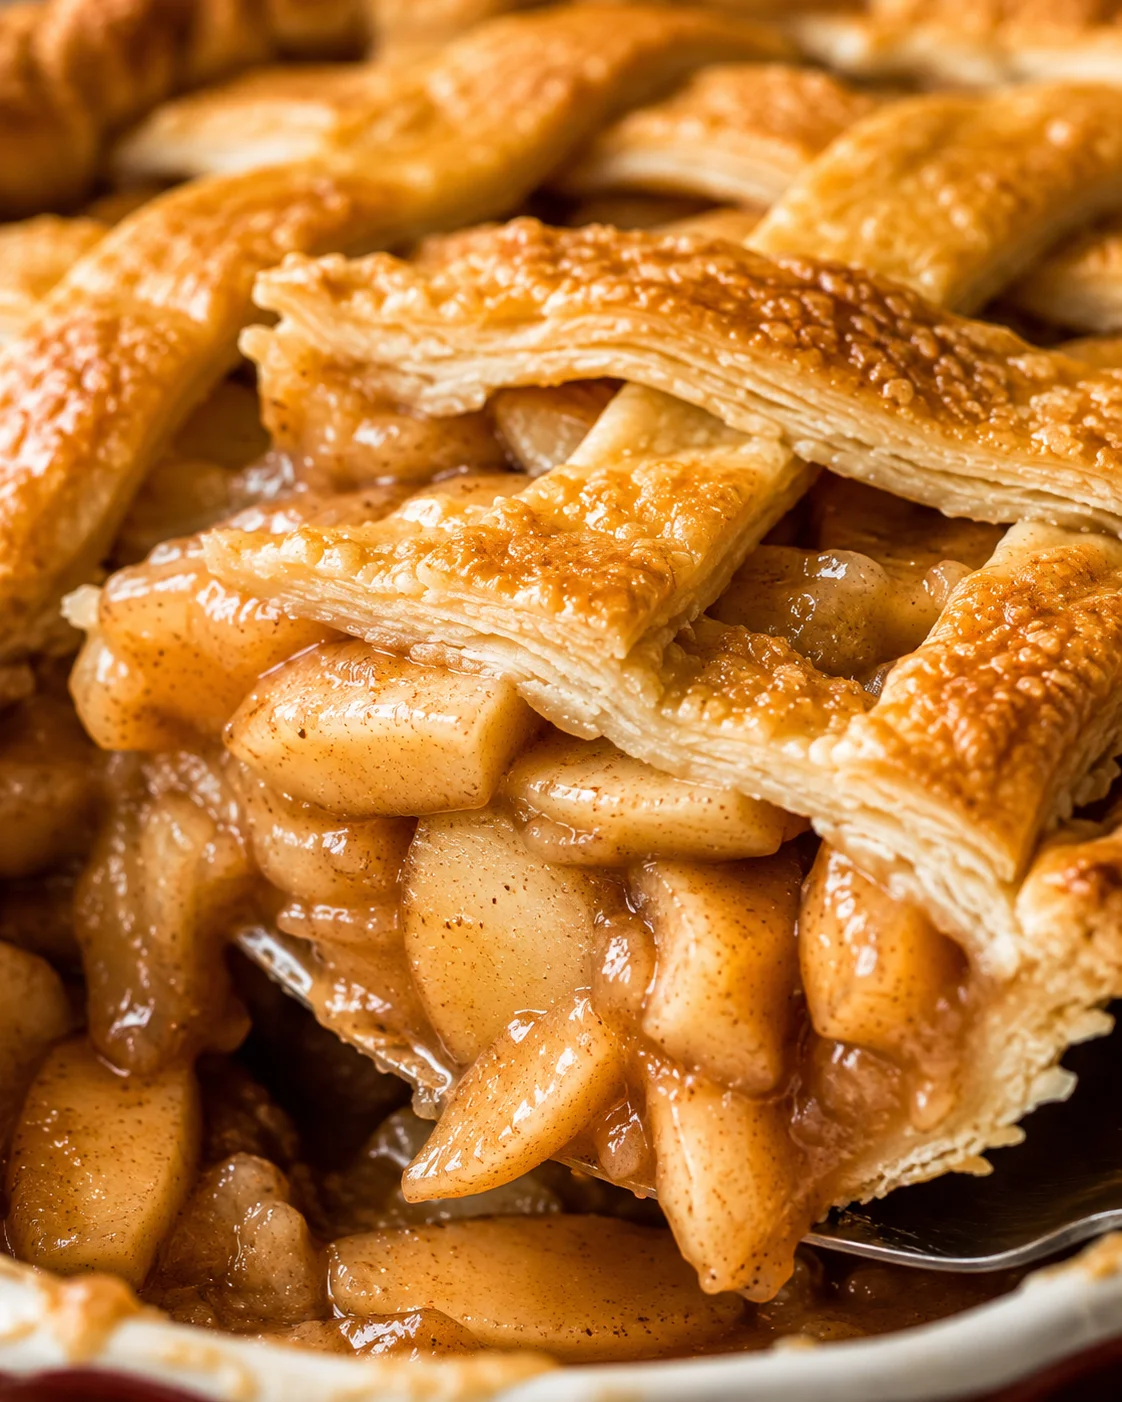
A classic apple pie featuring a buttery, flaky double crust and a perfectly cooked apple filling packed with apple flavor and warm spices. The filling is cooked on the stove before baking, ensuring tender apples that hold their shape and a pie that is full and flavorful.
- Prep Time: 30 minutes
- Cook Time: 1 hour 5 minutes
- Total Time: 1 hour 35 minutes plus 4 hours cooling
- Yield: 1 9-inch double crust pie (8 servings) 1x
- Category: Dessert
- Cuisine: American
Ingredients
- 1 homemade double pie crust, or 2 sheets of pie dough
- 1/4 teaspoon lemon zest
- Juice from half a lemon (about 2 tablespoons)
- 5 pounds apples (about 11 large or 15 medium), peeled, cored, and sliced 1/8 inch thick
- 3/4 cup packed brown sugar
- 3/4 cup granulated sugar
- 5 tablespoons all-purpose flour
- 1/4 teaspoon kosher salt
- 1 1/2 teaspoons ground cinnamon
- 3/4 teaspoon ground nutmeg
- 1/2 teaspoon ground cardamom (optional)
- 1 teaspoon vanilla extract
- 1 tablespoon milk (for brushing crust)
- 1 tablespoon beaten egg (optional, for brushing crust)
- 1 tablespoon raw sugar (for topping)
Instructions
- Gather about 5 pounds of apples, mixing varieties as desired.
- Microplane 1/4 teaspoon lemon zest into a large 12-inch high-sided skillet.
- Add juice from half a lemon (about 2 tablespoons) to the skillet.
- Peel, core, and slice apples about 1/8 inch thick.
- Toss sliced apples in batches into the skillet with lemon juice to coat and prevent browning.
- Place skillet over medium heat.
- Add brown sugar, granulated sugar, flour, kosher salt, cinnamon, nutmeg, and cardamom (if using) to apples and gently stir to coat without breaking apples.
- Cover skillet and cook for 20 minutes, stirring every 3 minutes and replacing the lid each time, until apples are fork-tender but hold their shape. Add up to 1 tablespoon water if apples start sticking.
- Remove skillet from heat and stir in vanilla extract.
- Spread the filling with all sauce onto a rimmed baking sheet or pan and chill completely in fridge or freezer (20–30 minutes) or cool in skillet for a couple hours.
- Roll out one sheet of pie dough and place it in a deep 9-inch pie dish with extra overedges.
- Scrape the chilled filling evenly into the prepared pie crust with a rubber spatula.
- Top with the second pie crust or create a lattice; poke vents if using a full crust for steam escape.
- Tuck in and crimp edges to seal.
- Chill assembled pie in fridge or freezer for 20–30 minutes to set crust.
- Preheat oven to 425°F (220°C) with a baking sheet on center rack for at least 20–25 minutes to get sheet hot.
- Brush crust with a mixture of milk and beaten egg (or milk alone) and sprinkle raw sugar on top.
- Place chilled pie onto hot baking sheet and bake at 425°F for 15 minutes until edges begin to lightly brown.
- Make a foil pie shield to protect edges during baking.
- Reduce oven temperature to 350°F (175°C), tent edges of pie with foil shield, and return pie to oven.
- Bake 40–45 minutes more until crust is deep golden and filling bubbles.
- Cool pie on wire rack for at least 4 hours to allow filling to set before slicing.
Notes
Cook the filling prior to baking to ensure tender apples that hold their shape and avoid mushiness., Use a mix of apple varieties for depth of flavor; 5 pounds apples supplies a high fruit content to keep pie full and flavorful., Add citrus juice (lemon or lime) to prevent browning and to brighten apple flavor., Make your pie crust from scratch for best results with flaky, buttery texture; store-bought crust works in a pinch., Cardamom is optional but adds mild warmth and depth paired with cinnamon., Do not add butter to the filling; it mutes the bright apple flavor—save richness for the crust., Use a pie shield (metal, silicone, or homemade foil) to protect crust edges from burning., You can freeze the cooled filling separately or freeze an unbaked pie without egg wash or sugar topping for up to 3 months., Reheat refrigerated pie slices before serving to enhance texture and flavor., Variations include adding dried cranberries or raisins, experimenting with spices like ginger or allspice, using lime zest/juice instead of lemon, or customizing the topping to Dutch style with crumb topping or pecan texture., Serving suggestions: warm with vanilla ice cream, caramel sauce drizzle, or whipped cream.
Nutrition
- Serving Size: 1 slice
- Calories: Approx. 350 calories per serving
- Fat: 8 g per serving
- Carbohydrates: 60 g per serving
- Protein: 3 g per serving
More in Pies