Chocolate Cream Pie Recipe

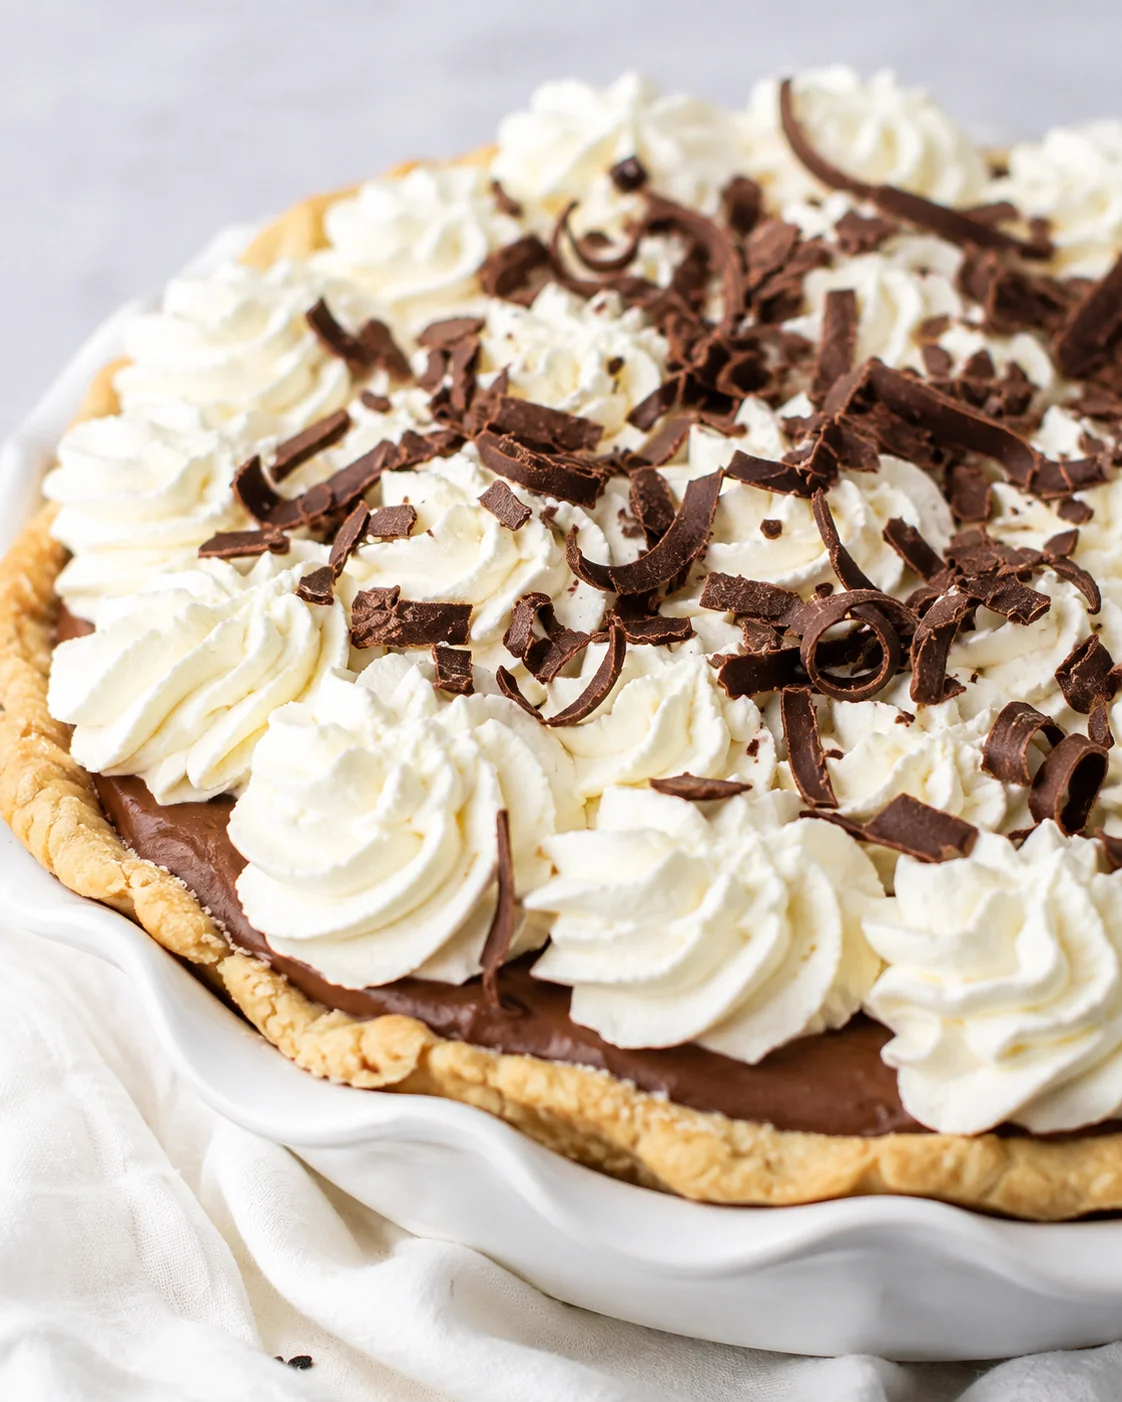
Get ready for a chocolate cream pie that combines two kinds of chocolate in a rich, creamy custard, all topped with fluffy whipped cream and delicate chocolate curls!
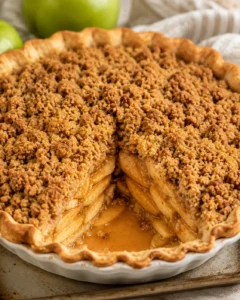
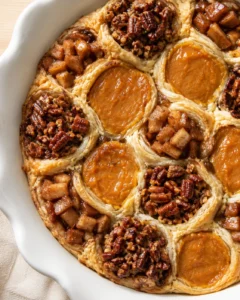
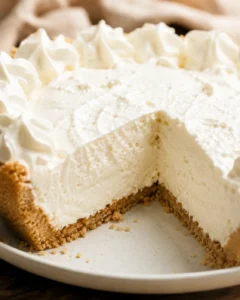
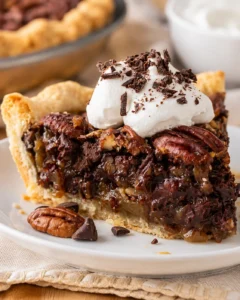
If you’re a chocolate fan, this pie will rank right up there with favorites like our Chocolate Pecan Pie, S’Mores Pie, and Frozen Butterfinger Pie.
Nutrition
Nutrition info is estimated, so use it as a general guide.
If creamy, chocolatey desserts are your jam, then this chocolate cream pie is a must-make. It starts with a tender, flaky pie crust — you can buy one or make it from scratch — and fills it with a luscious custard that blends two kinds of chocolate for depth. Then it gets the finishing touch with fresh whipped cream and lovely chocolate curls on top. It’s a dessert that looks just as dreamy as it tastes, perfect for family gatherings or special occasions.
Here’s what you’ll be doing:
- Whipping up a stovetop chocolate custard that’s enriched with egg yolks for a silky finish.
- Pouring that custard into your baked pie shell and chilling it until it’s perfectly set — about 4 hours or overnight.
- Finishing with homemade whipped cream and chocolate curls for that wow factor.
- Making 8 generous servings with a total prep and cooking time just under 5 hours, most of which is hands-off chilling—easy to fit in with a busy day!
Along the way, I’ll share tips to keep your custard smooth and lump-free, plus swap ideas for crusts and chocolate varieties. Interested in a quicker version? Check out the FAQs for a shortcut using instant pudding, but for the creamiest, most classic chocolate cream pie, the cooked custard method is unbeatable.
What Makes It Special
Who doesn’t love a slice of homemade pie with a rich filling that keeps you coming back for more?
I’m a sucker for all kinds of scratch-made pies — think Pecan Pie, Apple Pie, Pumpkin Pie, or Coconut Cream Pie — but add chocolate to the mix and I’m in dessert heaven every time.
Here’s why this chocolate cream pie is a true crowd-pleaser:
- RICH & VELVETY. We’re using two kinds of chocolate in the filling for a creamy, smooth texture that melts in your mouth.
- CUSTOMIZABLE. From the crust to the toppings, feel free to get creative! Classic pie crust, Oreo crust, graham cracker crust — whatever your family loves.
-
SHOWSTOPPER. This pie looks stunning on any dessert table and tastes every bit as amazing as it looks — and if you want another wow-worthy option, try this Chocolate Pistachio Tart with Ganache.
What You’ll Need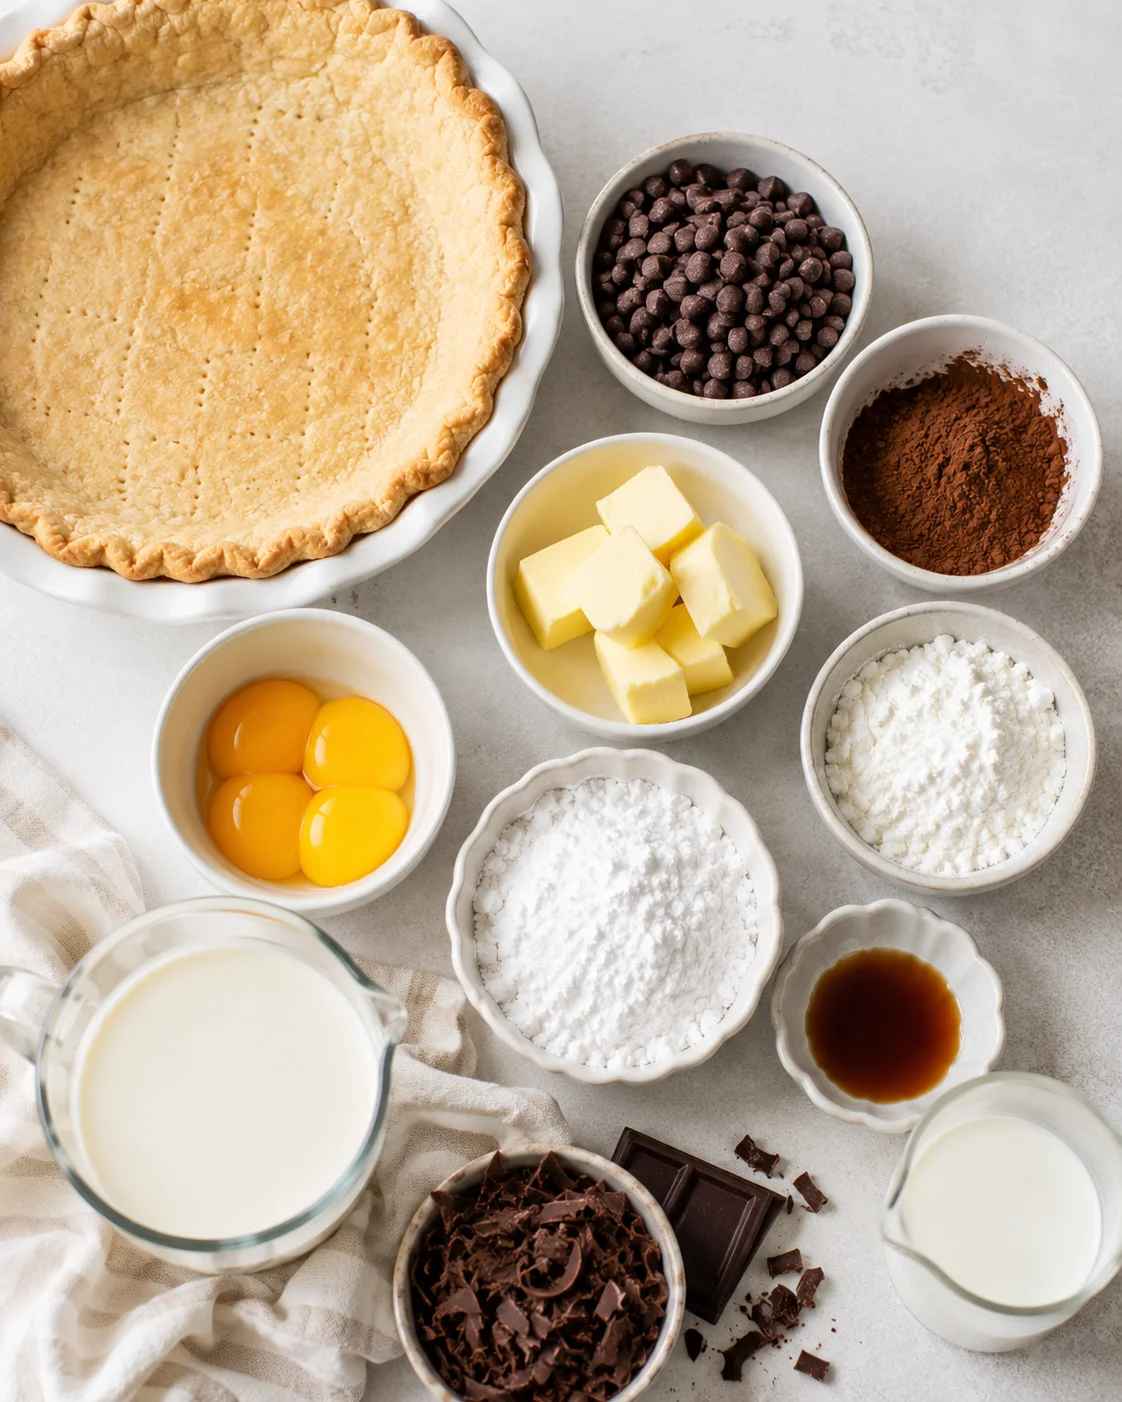
- 1 (9-inch) pie crust store-bought or our Homemade Pie Crust Recipe
- 3 tablespoons unsalted butter
- 1¼ cups semi-sweet chocolate chips
- ¾ cup sugar
- 3 tablespoons cornstarch
- ¼ teaspoon salt
- 2 tablespoons cocoa powder
- 2 cups milk
- 3 egg yolks beaten
- 2 teaspoons vanilla extract
- 1 cup heavy whipping cream
- ¼ cup powdered sugar
- 1 teaspoon vanilla extract
Make the Custard and Assemble
- Bake a 9-inch pie crust according to package or recipe instructions and let it cool completely.
- Place unsalted butter and semi-sweet chocolate chips in a large heatproof bowl and set aside.
- Whisk sugar, cornstarch, cocoa powder, and salt together in a saucepan.
- Slowly whisk in the milk until the mixture is smooth.
- Cook over medium heat, stirring constantly, until the mixture comes to a gentle simmer.
-
Simmer and stir continuously for 1 minute, until the mixture thickens.
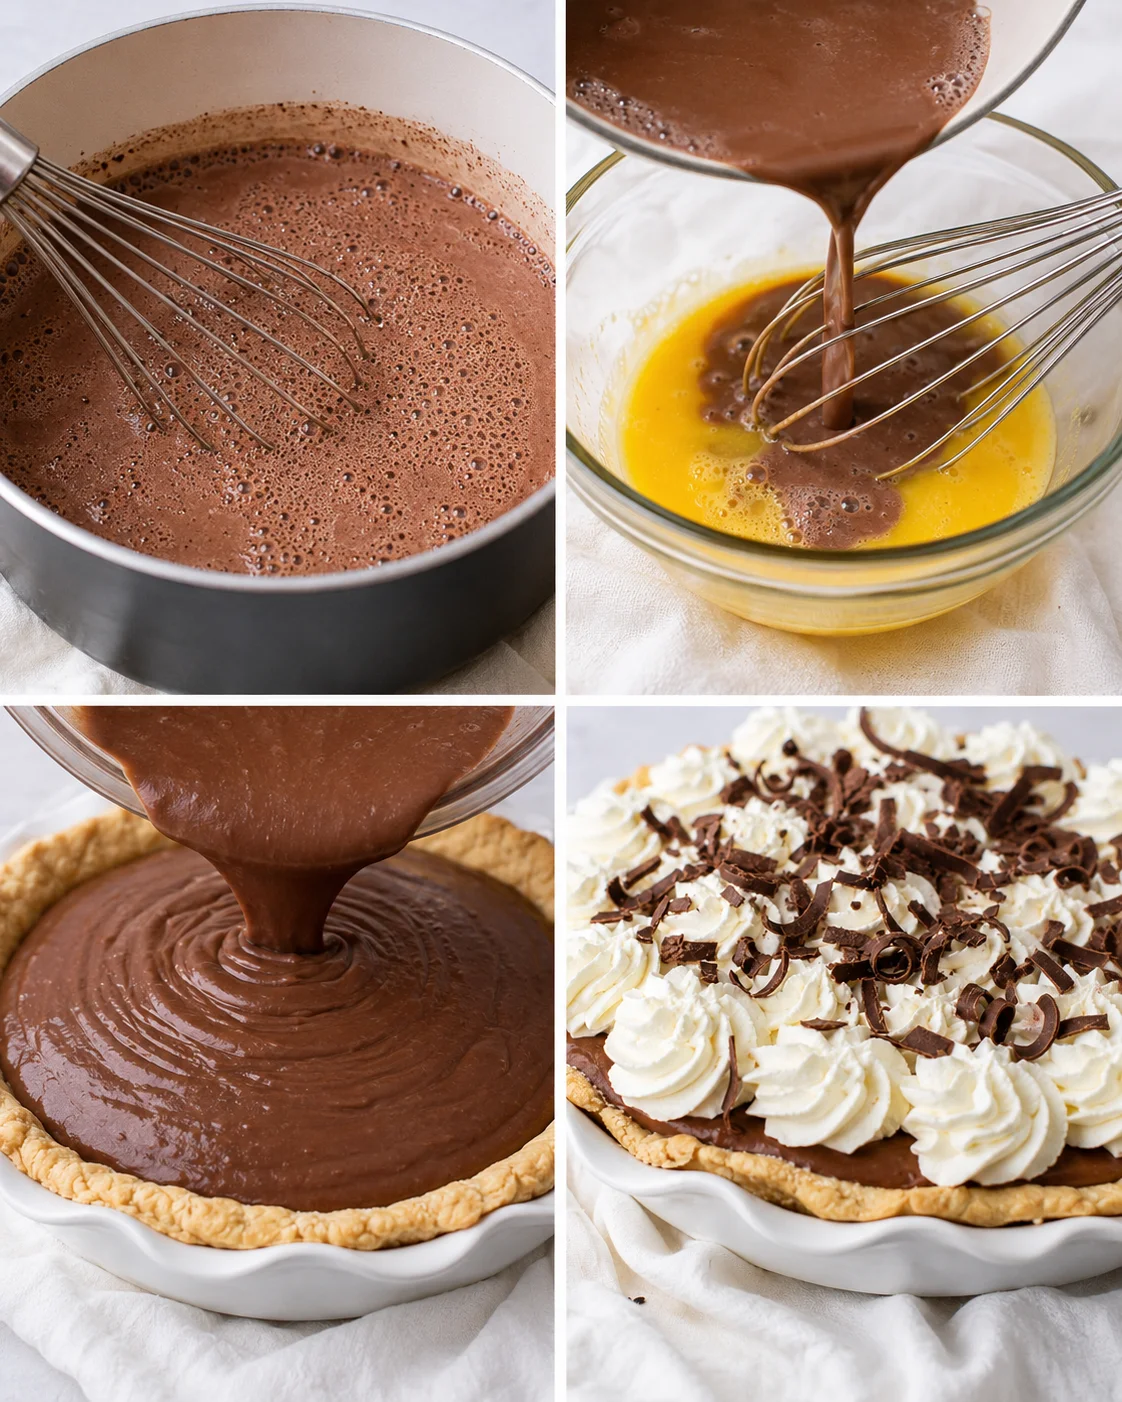
- Remove from heat and whisk 1/2 cup of the hot mixture into the beaten egg yolks to temper them.
- Pour the tempered egg yolk mixture back into the saucepan and stir to combine.
- Return the pan to medium heat and simmer for 1 more minute while stirring constantly.
- Remove from heat and stir in the vanilla extract.
- Set a fine-mesh strainer over the bowl with the chocolate and butter and pour the hot custard through the strainer; let it rest a few minutes, then stir until the chocolate and butter are fully melted and smooth.
- Transfer the custard to a bowl, press plastic wrap directly onto the surface, and chill in the refrigerator until cool.
- Pour the cooled custard into the cooled pie crust and refrigerate for at least 4 hours or overnight to set.
- Beat heavy cream until soft peaks form, add powdered sugar and vanilla, and beat until smooth and creamy.
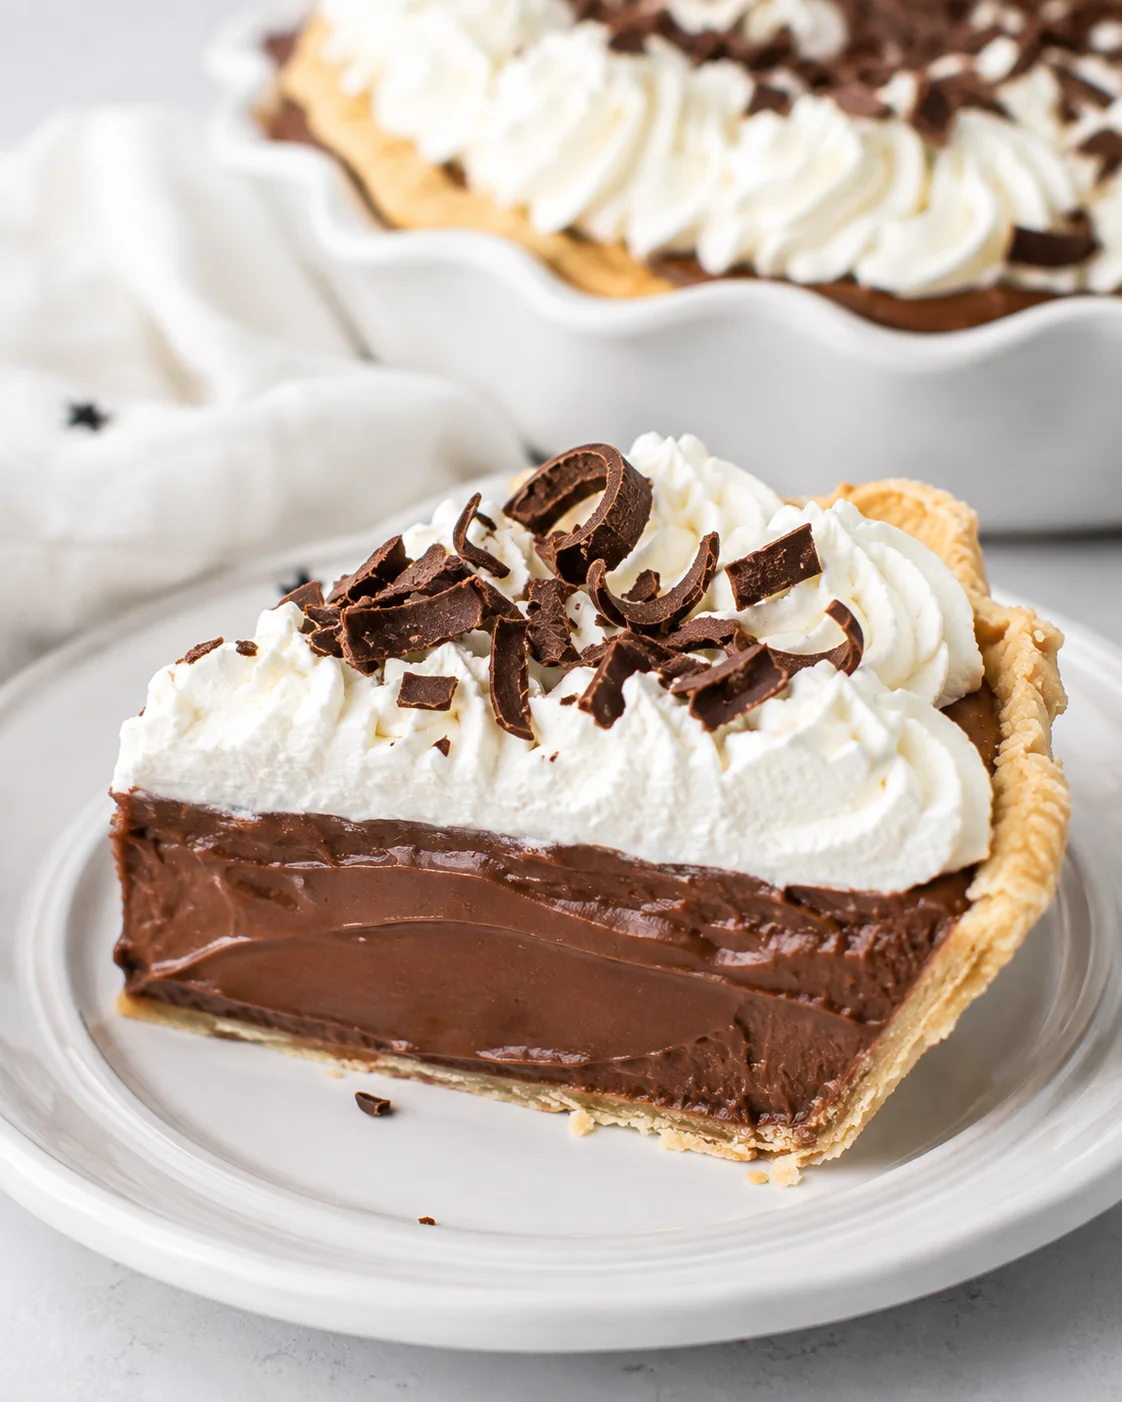
- Spread the whipped cream over the chilled pie and garnish with chocolate curls if desired.
Troubleshooting and Tips
-
Runny chocolate pie. If your filling is softer than you expected, it might not have thickened enough. Make sure you bring the filling to a boil and let it bubble for the full minute during simmering. For a clear example of how a cornstarch-thickened filling should look at a true boil, see our homemade cherry pie filling.
- Give it enough time in the fridge to really set before slicing.
-
Curdled filling. Sometimes the filling gets lumpy or curdled if the heat is too high or the eggs go in too fast.
Cook over medium heat and stir continuously. If you spot lumps, immediately take the pan off the heat and whisk vigorously to smooth it out.
Ways to Customize
Want to switch things up? Here are some easy ways to mix it up or customize based on what you have:
- CRUST OPTIONS: Try a chocolate Oreo crust for an extra chocolaty punch, a graham cracker crust for a sweet, toasty flavor, or a buttery shortbread crust for something rich and tender.
- CHOCOLATE OPTIONS: Swap the semi-sweet chocolate chips for bittersweet or dark chocolate for a more intense flavor, or use milk chocolate if you prefer it sweeter and creamier. Chopped bars work great too.
- EXTRA FLAVOR: Stir in a teaspoon of instant espresso powder to the milk while heating to deepen the chocolate notes, or add 1-2 teaspoons of orange zest for a fresh citrus twist.
- ADD-INS: Fold chopped toasted nuts like pecans or hazelnuts into the custard before chilling, or swirl through peanut butter or salted caramel for a fun layered effect.
- MINI VERSION: Use mini tart shells to make adorable individual pies. They’ll chill faster—usually ready in 2-3 hours.
- DIETARY SUBSTITUTIONS: Go gluten-free with a compatible crust, and for dairy-free, use full-fat coconut milk, dairy-free butter, and vegan chocolate. Adjust thickening as needed since egg yolks help set the filling.
Storage and Make-Ahead Tips
- Make ahead. Adding a thin layer of whipped cream before covering helps keep this pie moist. Wrap with plastic wrap and refrigerate for 2-3 days with great results. This same make-ahead method works for other cream pies, like our Lemon Mascarpone Cream Pie.
- Store. Keep leftovers covered in the fridge, either in the pie plate or airtight containers. Press plastic wrap onto cut pieces to avoid that annoying skin on the chocolate filling. The same storage approach works well for other fridge-set desserts like our No-Bake Fresh Peaches and Cream Dessert.
-
Freeze. This chocolate cream pie freezes well! Wrap tightly with plastic and foil, freeze up to 3 months, then thaw in the fridge overnight. Add whipped cream just before serving for best texture.
Common Questions Answered
-
How can I tell when the custard is thick enough?
The custard will coat the back of a spoon and leave a clear line when you run your finger through it. After simmering for the full minute, it will set more as it chills in the fridge.
-
My filling is runny—what went wrong and can I fix it?
Runny filling usually means it didn’t get cooked at a simmer long enough or the cornstarch was off. Just return it to heat, simmer while stirring until thicker, then proceed with tempering the eggs and chilling. If you skipped eggs, the filling will need more thickener.
-
Why did my filling get lumpy or curdled?
Curdling happens if eggs meet hot mixture too fast or heat is too high. Temper the yolks by whisking hot mixture in slowly before adding to the pot. Cook gently on medium, stirring constantly. If lumps appear, strain the custard through a fine mesh sieve.
-
Can I use whole eggs instead of just yolks?
Whole eggs can be used but will make the custard firmer and a bit different in texture. Shorten the cooking time slightly and be careful tempering to avoid scrambling.
-
What can I use instead of cornstarch?
All-purpose flour works as a substitute—use about twice the amount called for cornstarch. Note that flour will yield a less glossy filling and take a bit longer to cook out the raw taste.
-
Can I make this pie ahead of time and freeze it?
Absolutely! Assemble and chill the pie, then wrap tightly with plastic and foil. Freeze for up to 3 months. Thaw in the fridge overnight before serving, and add whipped cream just before serving for the best texture. Planning ahead for gatherings? Browse our Holiday Pie Recipes collection for more make-ahead pies.
-
How long does this pie keep in the refrigerator?
Stored covered, the pie will last 2-3 days. Press plastic wrap on cut surfaces to stop a skin from forming.
-
Can I make a quicker version using instant pudding mix?
Yes! Make a quick chocolate cream pie with instant chocolate pudding made to package directions, then pour into a cooled crust. It won’t have the same richness but is a fast alternative. Or try a No Bake Strawberry Cheesecake for an equally simple, crowd-pleasing option.
-
How do I prevent a skin from forming on the custard while it cools?
Press plastic wrap directly onto the surface of the hot custard as it cools to keep air from drying it out and causing a skin.
-
Any tips for making this dairy-free or vegan?
Use full-fat canned coconut milk, dairy-free butter, and vegan chocolate. Because egg yolks thicken this custard, you may need extra cornstarch or an egg replacer made for custards. The texture will be a bit different but still tasty.
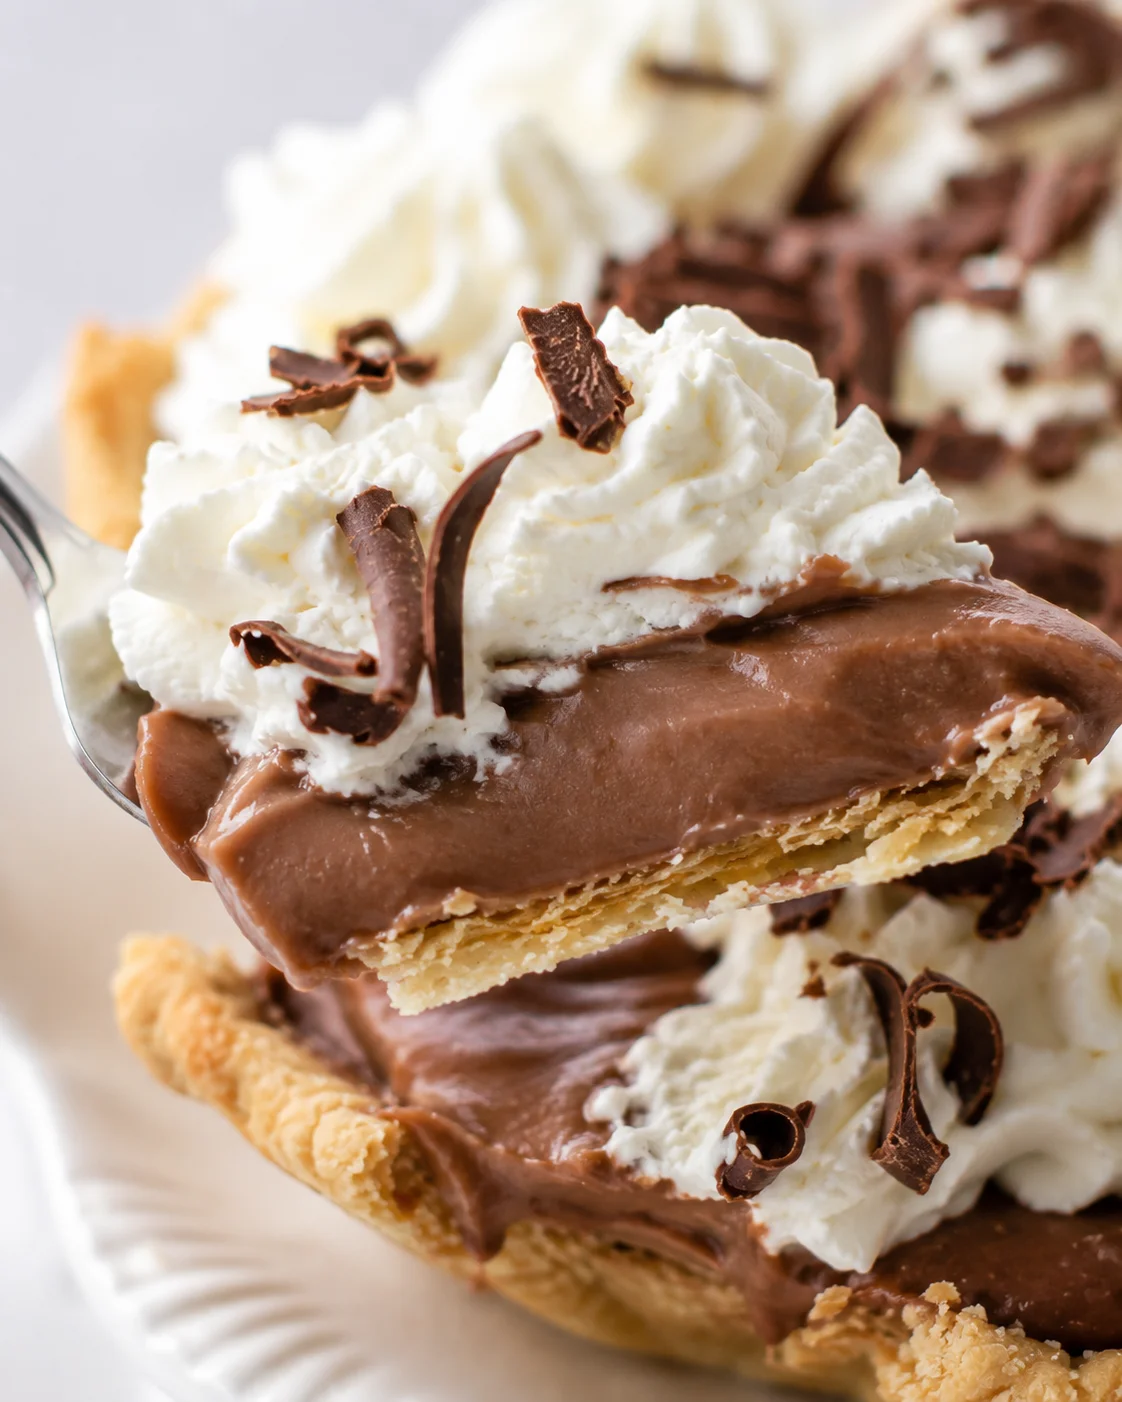
A rich and creamy chocolate cream pie featuring a custard with two kinds of chocolate, set in a flaky pie crust, topped with whipped cream and chocolate curls.
- Prep Time: 30 minutes
- Cook Time: 15 minutes
- Total Time: 4 hours 45 minutes
- Yield: 8 servings 1x
- Category: Dessert
- Cuisine: American
Ingredients
- 1 (9-inch) pie crust (store-bought or homemade)
- 3 tablespoons unsalted butter
- 1¼ cups semi-sweet chocolate chips
- ¾ cup sugar
- 3 tablespoons cornstarch
- ¼ teaspoon salt
- 2 tablespoons cocoa powder
- 2 cups milk
- 3 egg yolks, beaten
- 2 teaspoons vanilla extract
- 1 cup heavy whipping cream
- ¼ cup powdered sugar
- 1 teaspoon vanilla extract
Instructions
- Bake the pie crust in a 9-inch pie pan following package or recipe instructions and let it cool completely.
- Place unsalted butter and semi-sweet chocolate chips in a large heatproof bowl and set aside.
- In a saucepan, whisk together sugar, cornstarch, cocoa powder, and salt.
- Slowly whisk in the milk until the mixture is smooth.
- Cook over medium heat, stirring constantly, until the mixture comes to a gentle simmer.
- Simmer and stir continuously for about 1 minute until the mixture thickens.
- Remove from heat and whisk ½ cup of the hot mixture into the beaten egg yolks to temper them.
- Pour the tempered egg yolks back into the saucepan and stir to combine.
- Return the pan to medium heat and simmer for another minute while stirring constantly.
- Remove from heat and stir in the vanilla extract.
- Pour the hot custard through a fine mesh strainer over the chocolate and butter bowl; let it rest a few minutes, then stir gently until smooth and melted together.
- Transfer the custard to a bowl, cover with plastic wrap pressed directly onto the surface, and chill in the refrigerator until cool.
- Pour the cooled custard into the chilled pie crust and refrigerate for at least 4 hours or overnight to set.
- Beat the heavy whipping cream until soft peaks form, add powdered sugar and vanilla extract, and beat until creamy.
- Spread the whipped cream over the chilled pie and garnish with chocolate curls if desired.
Notes
Keep stirring the custard as it cooks to avoid lumps and a scorched bottom., Temper the egg yolks carefully to prevent scrambling., Press plastic wrap onto the custard surface while cooling to prevent a skin., Chilling overnight improves slice neatness and flavor., Use a vegetable peeler to create chocolate curls for decoration., Add a thin layer of whipped cream before covering if making ahead to keep pie moist., Store leftovers covered in the refrigerator, press plastic wrap on cut pieces to avoid skin formation., Freeze wrapped tightly for up to 3 months; thaw overnight in fridge before serving, add whipped cream fresh.
Nutrition
- Serving Size: 1 slice
- Calories: 1436 kcal per serving
- Fat: 85 g per serving
- Carbohydrates: 148 g per serving
- Protein: 19 g per serving
More in Pies